
6090 UV Printer Daily Troubleshooting Guide: Make Operation Simpler
- By:uv digital printing
- 2025-11-27
- 14
With its exceptional versatility, the 6090 UV Printer has become a core piece of equipment for numerous startups, design studios, and personalized customization workshops. However, during daily use, minor annoying issues may occasionally arise, impacting production efficiency and workflow morale.
Don’t worry – most common issues can be resolved through simple troubleshooting steps. This guide will walk you through quickly identifying and resolving faults like a professional, making your operational experience simpler and smoother.
Printing issues: unclear patterns, streaks
This is the most common category of issues, usually directly related to the status of print nozzles.
Issue: Missing Lines, Broken Lines, & Uneven Color in Prints
Troubleshooting Steps:
Step 1: Perform a Nozzle Check. This is the primary and mandatory step. Print a nozzle test pattern and inspect for clogged nozzle holes.
Step 2: Perform 1-2 Light Cleanings. If only a small number of nozzle holes are slightly clogged, 1-2 rounds of the printer’s built-in cleaning function will typically resolve the issue.
Step 3: Check the Secondary Ink Cartridge Level. Ensure the ink level in the secondary cartridge is within the normal range (typically between 1/2 and 2/3 full); low ink levels can cause poor ink supply.
Step 4: Check the Negative Pressure Value. Ensure the negative pressure value is stable within the range recommended by the equipment (refer to the device manual). Excessively high negative pressure will suck ink, leading to ink outage; excessively low negative pressure will cause ink dripping.
Issue: Blurry Patterns & Ghosting (Misregistration)
Troubleshooting Steps:
Step 1: Calibrate the Print Head Position. Use the “Print Head Calibration” function in the printer driver or control software to perform recalibration.
Step 2: Check if the Material is Flat. Ensure the material on the print platform is fully flattened with no warping. Even slight height variations will cause differences in inkjet distance, resulting in ghosting.
Step 3: Inspect the Grating Strip. This is the “ruler” for printer positioning. Turn off the printer power, then gently wipe the transparent grating strip at the rear of the machine with anhydrous ethanol and a lint-free cloth to ensure it is free of dust and ink spots.
Issue: Abnormal Noise or Print Head Collision When the Printer is Turned On
Troubleshooting Steps:
Step 1: Inspect Guide Rails & Belts. Check if the metal guide rails of the X/Y axes are clean and free of foreign obstructions. Clean the guide rails with a lint-free cloth and apply a small amount of lubricating oil.
Step 2: Check Sensors. Abnormal noise on startup is typically caused by a faulty or contaminated origin sensor. Locate and clean the sensor on the printer carriage.
Issue: Printer Does Not Respond to Print Jobs Sent from the Computer
Troubleshooting Steps:
Step 1: Check Data Cable Connection. Ensure the USB cable or network cable is firmly connected to both the printer and the computer.
Step 2: Check Printer Online Status. In “Devices and Printers” in the computer’s Control Panel, confirm the printer is in “Ready” or “Online” status – not “Use Offline”.
Step 3: Restart All Devices. Turn off the printer and computer, wait for one minute, then restart them. This is a simple yet often effective solution.
Curing & Adhesion Issues: Uncured Ink, Easy Peeling
Issue: Ink Remains Uncured/Tacky After Printing
Troubleshooting Steps:
Step 1: Check UV Lamp Power. Confirm whether the UV lamp is lit normally or if its brightness has diminished due to aging. You may try appropriately reducing the print speed to allow the UV lamp more time for irradiation and curing.
Step 2: Check Ink Type. Ensure you are using genuine and compatible UV ink.
Issue: Poor Adhesion of Patterns (Easily Scratched Off from the Substrate)
Troubleshooting Steps:
Step 1: Inspect the Material Surface. Is there oil stains, dust, or release agent on the material surface? Clean the material with alcohol before printing.
Step 2: Determine if Coating is Required. For low surface energy materials such as glass, metal, and ceramics, a specialized primer (PP coating) must be applied before printing to enhance adhesion.
Step 3: Adjust UV Lamp Power. Excessive curing may also cause the ink layer to become brittle and adhesion to decrease. Fine-tune the UV lamp power for testing.
Cultivate Good Habits to Prevent Issues Before They Occur
Daily Startup: Perform a nozzle check first, and start printing only after confirming the device is in good condition.
Daily Shutdown: Do not leave the equipment in standby mode for extended periods; proper shutdown helps protect the print head.
Weekly Maintenance: Clean the printer platform, guide rails, and grating strip.
Stable Environment: Keep the working environment dust-free, with stable temperature (20-28°C) and humidity (40%-60%).
When encountering issues, stay calm and troubleshoot from simple to complex steps as outlined in this guide – you can resolve over 90% of daily minor faults with your 6090 UV Printer. Of course, if you encounter complex hardware issues that cannot be resolved, contact your equipment service provider promptly. Mastering these self-troubleshooting skills not only reduces downtime but also allows you to truly become the “master” of your device, enabling efficient and worry-free creative production.

-
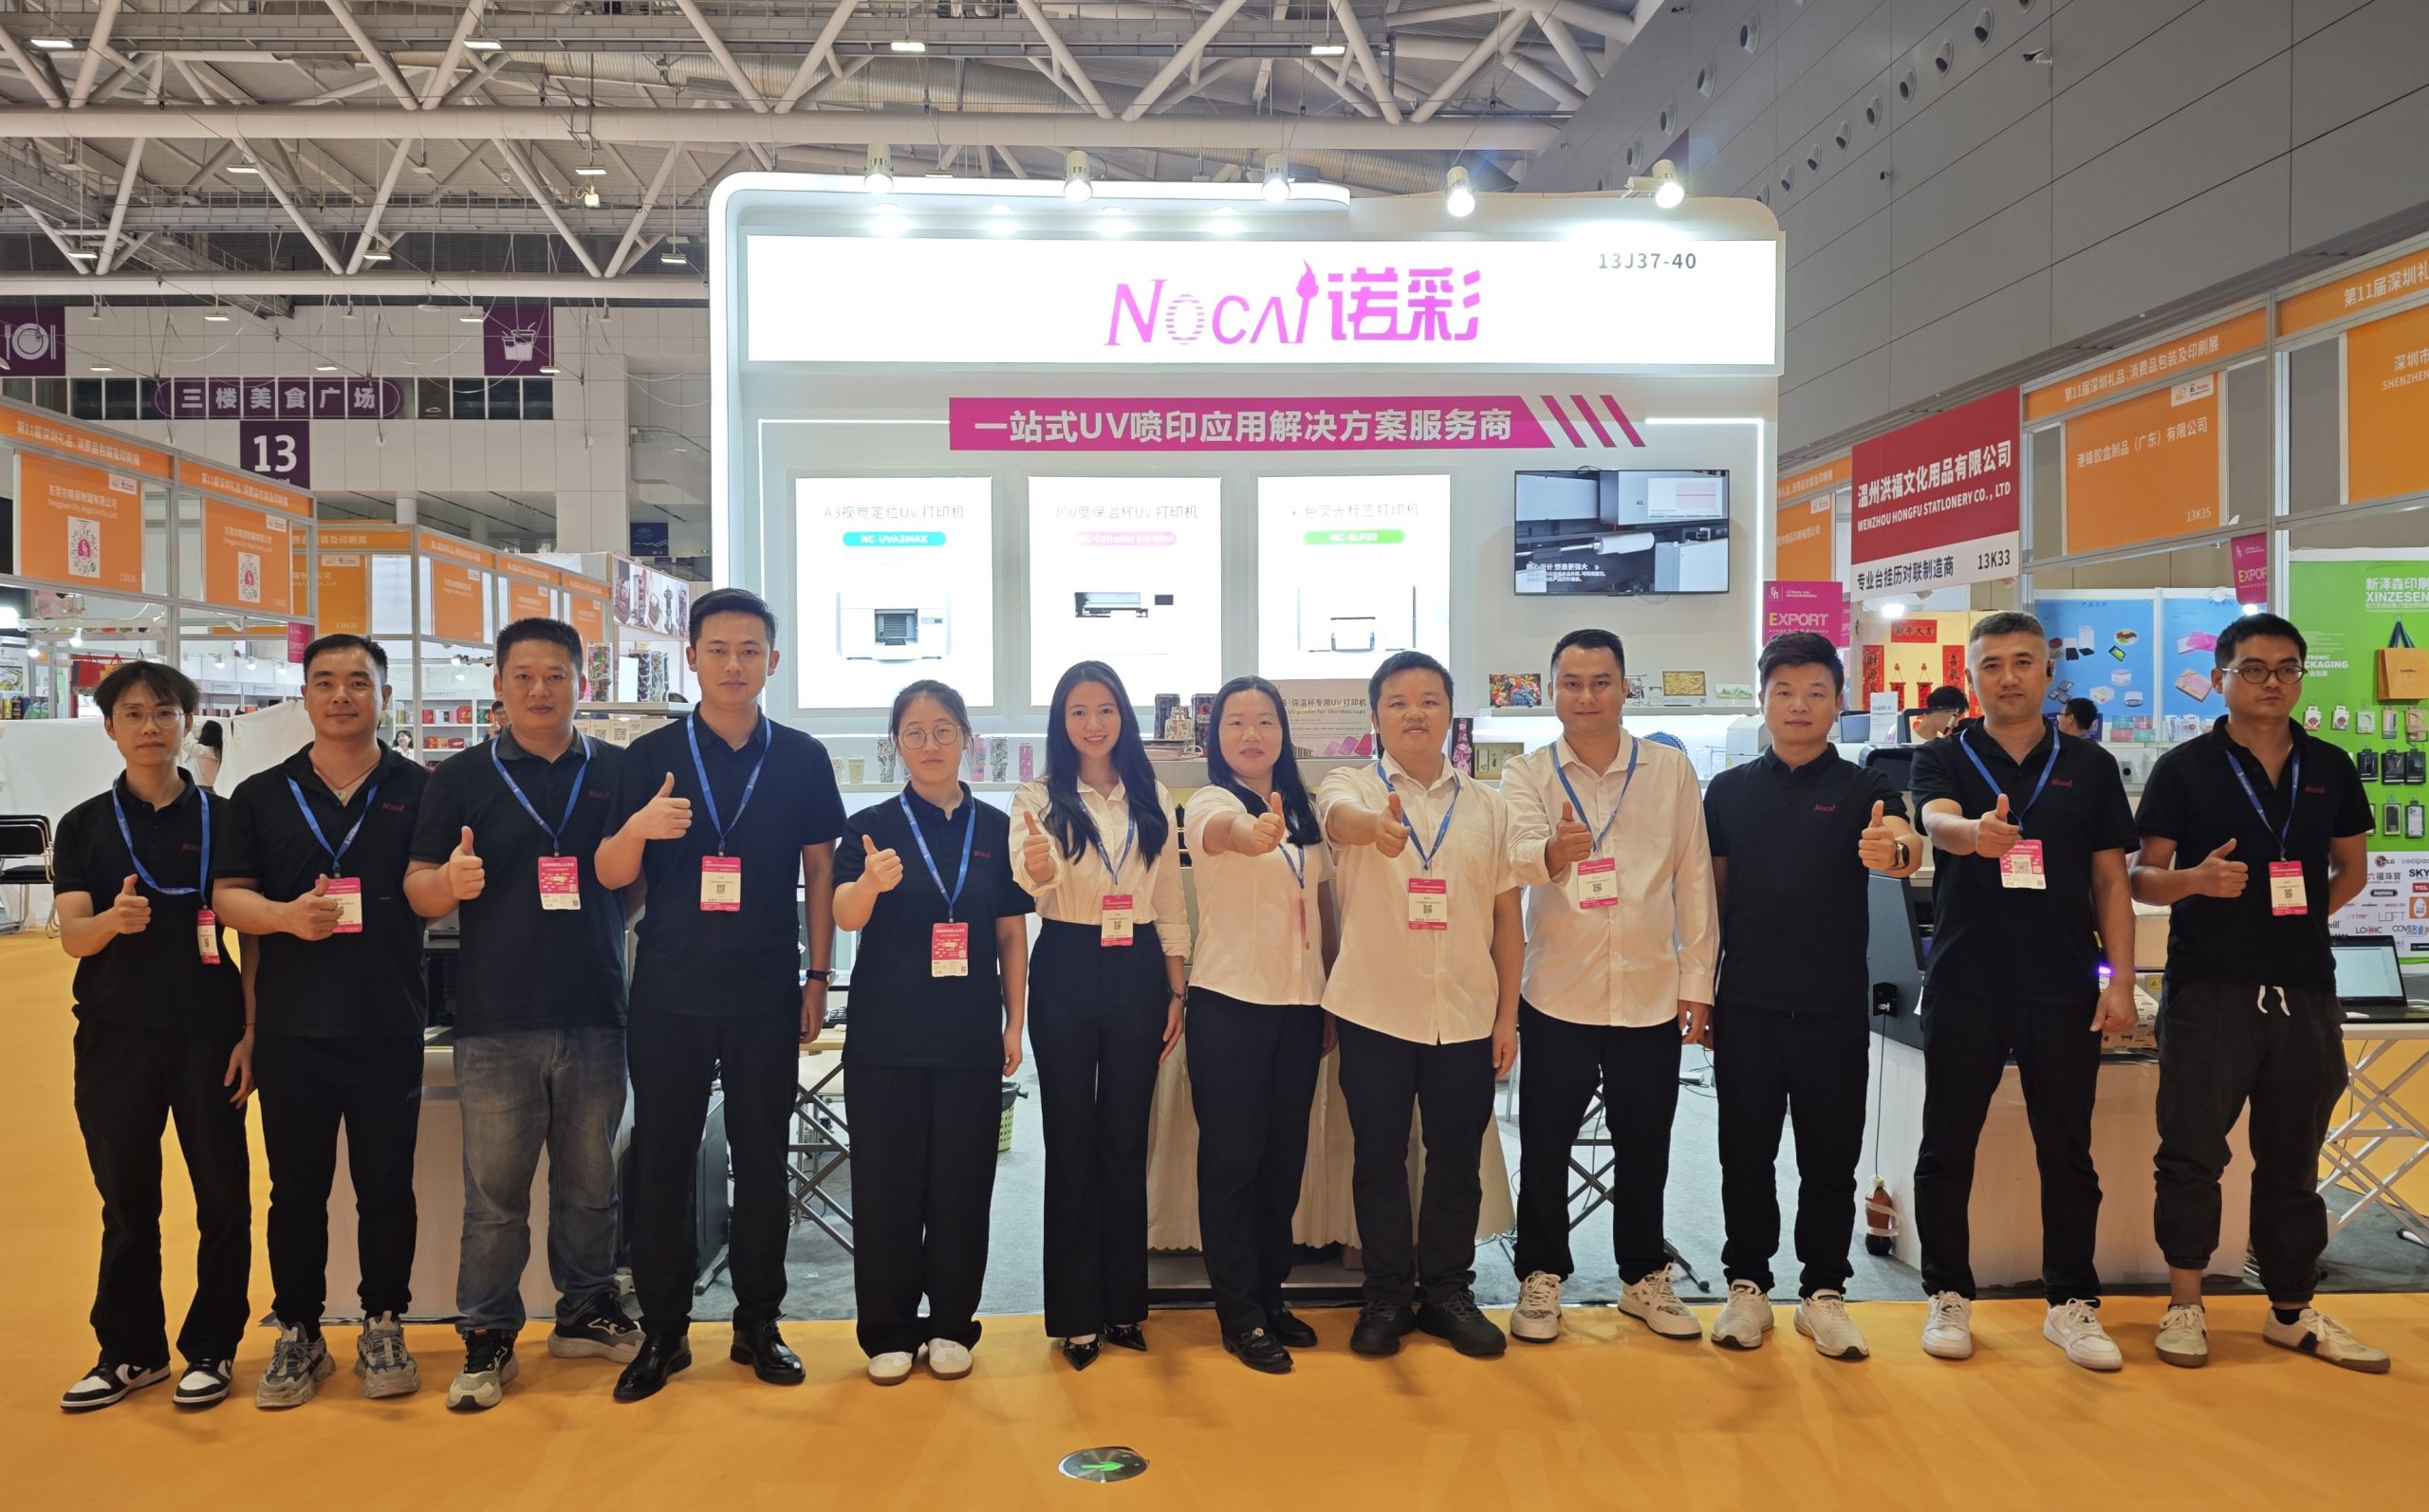
Successfully Concluded! Nocai Shenzhen Expo Achieves a Double Harvest of Popularity and Results—We Sincerely Invite You to Visit and Inspect!
2025-10-23 -
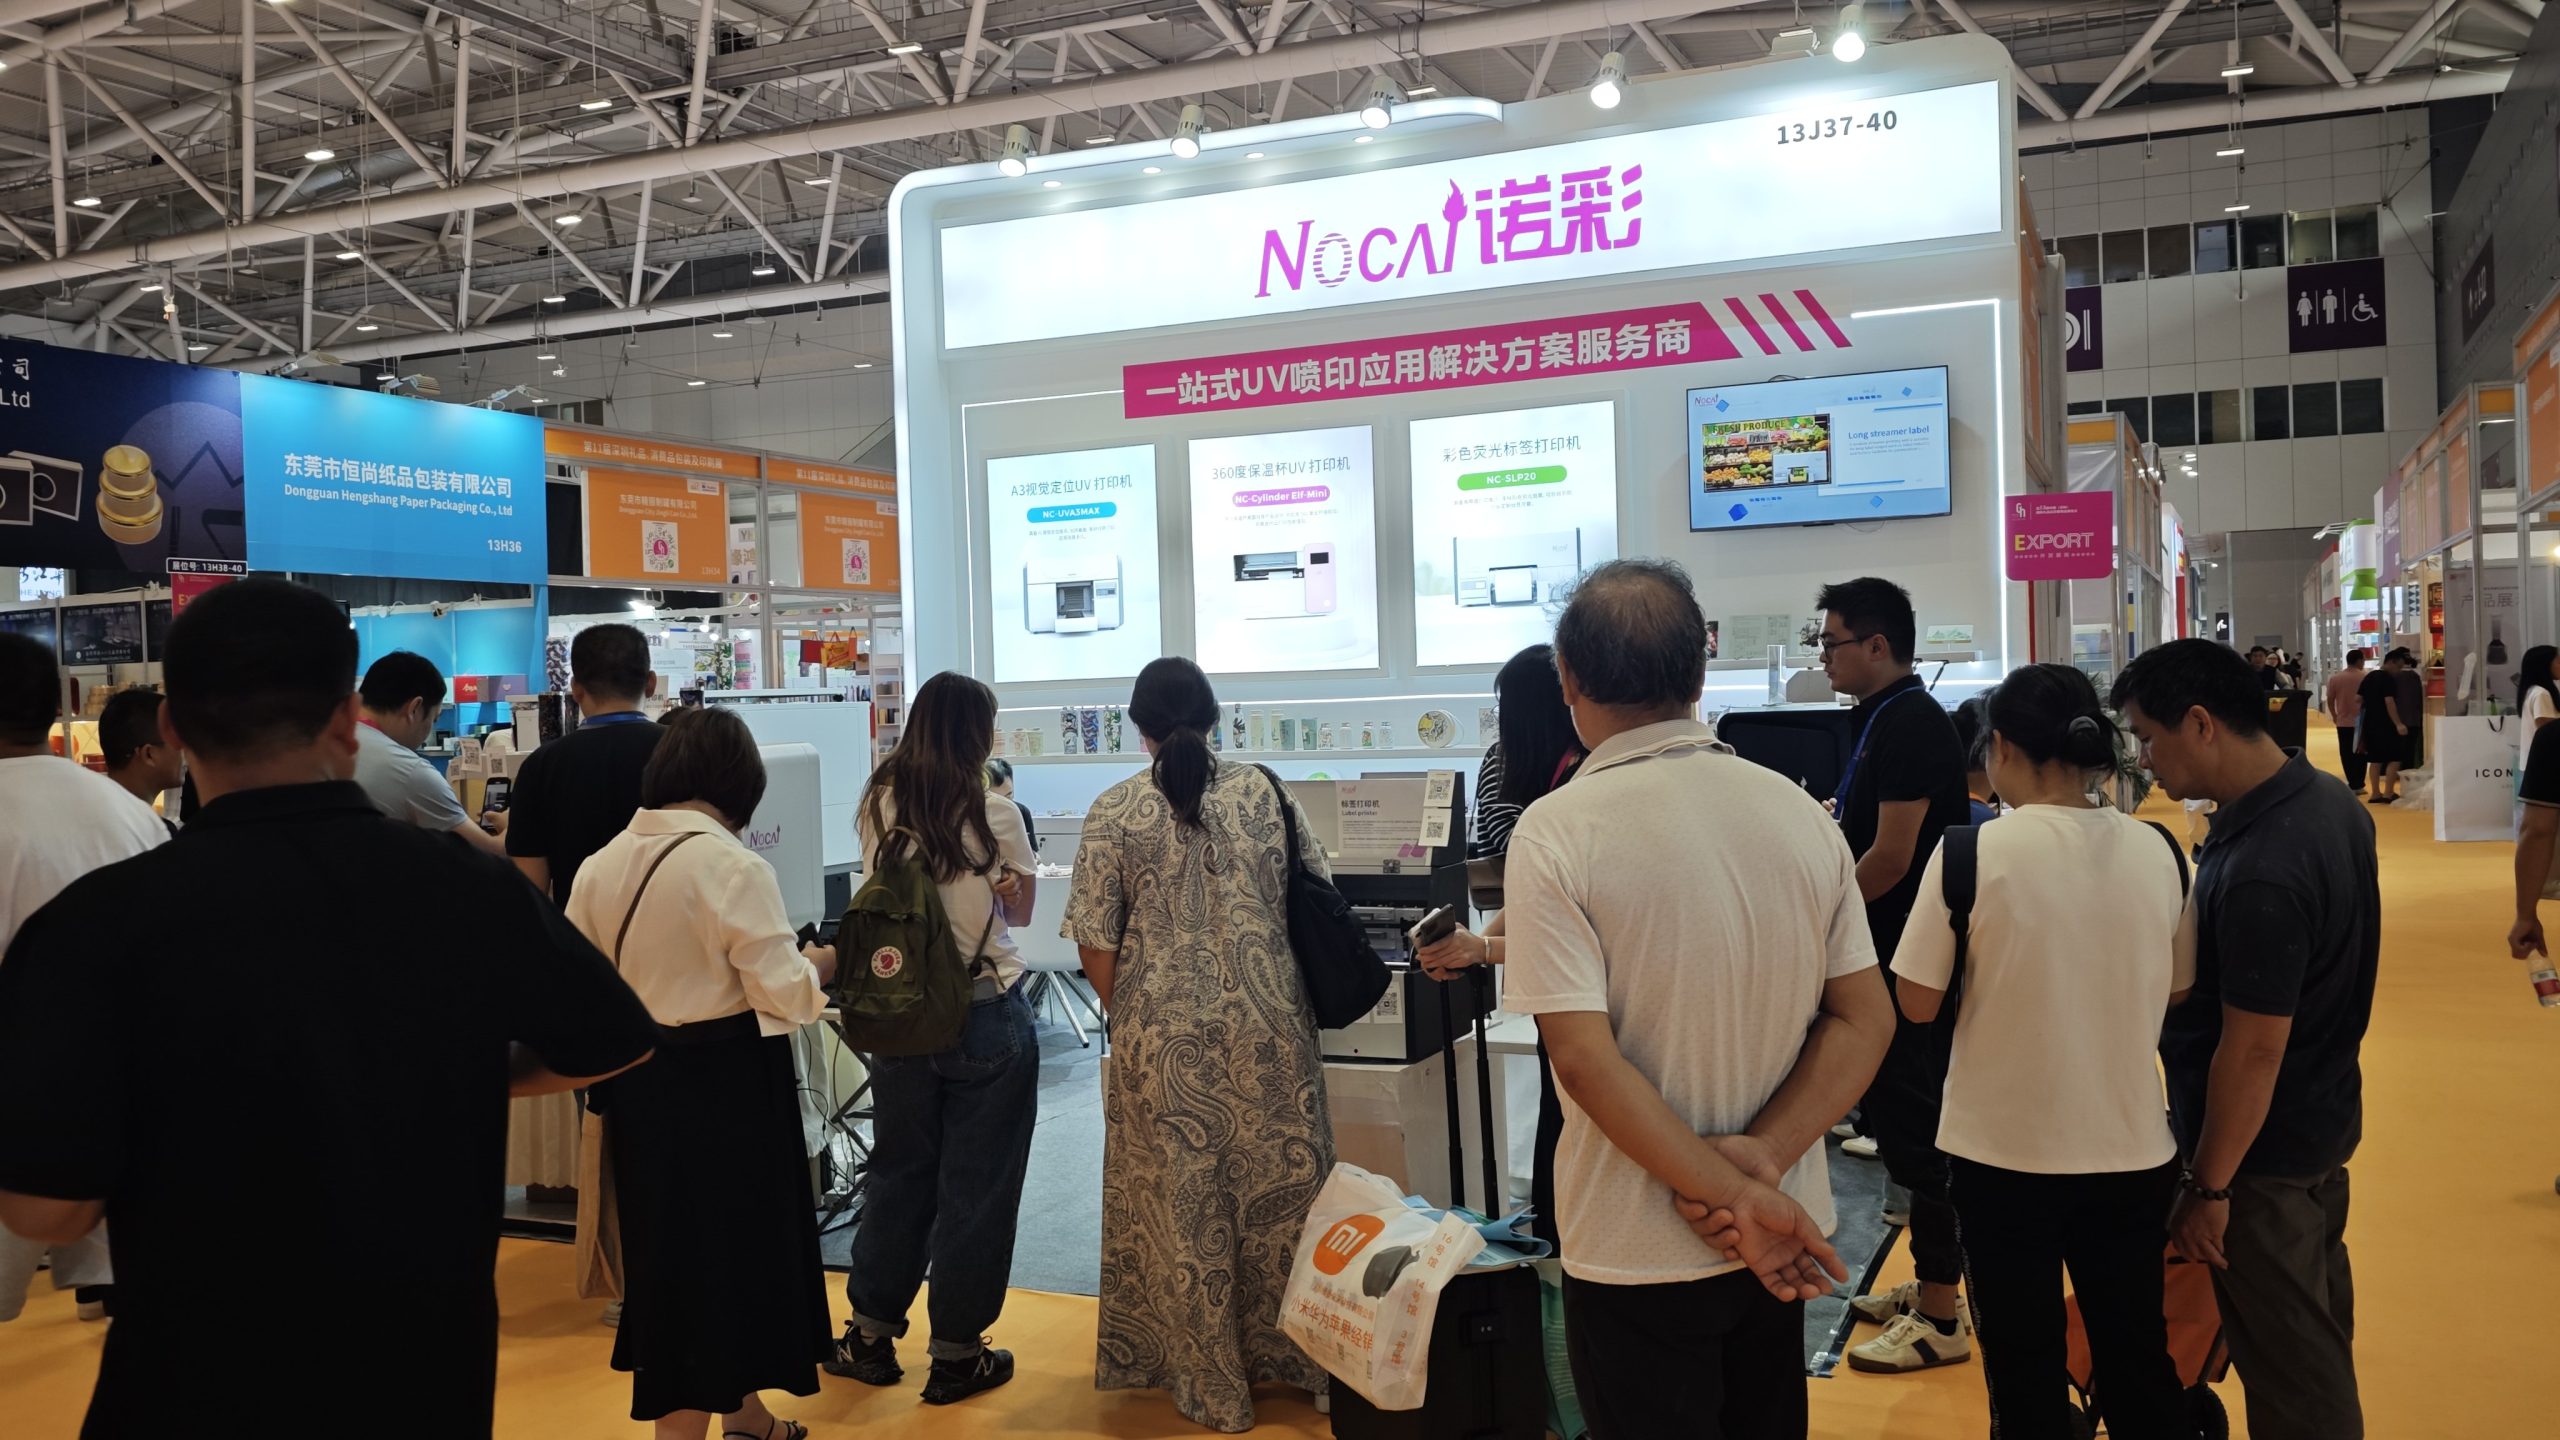
Nocai Shenzhen Expo Day 3 is a hit! Tomorrow is the last day—Hall 13, Booth J37-40 is waiting for you!
2025-10-22 -
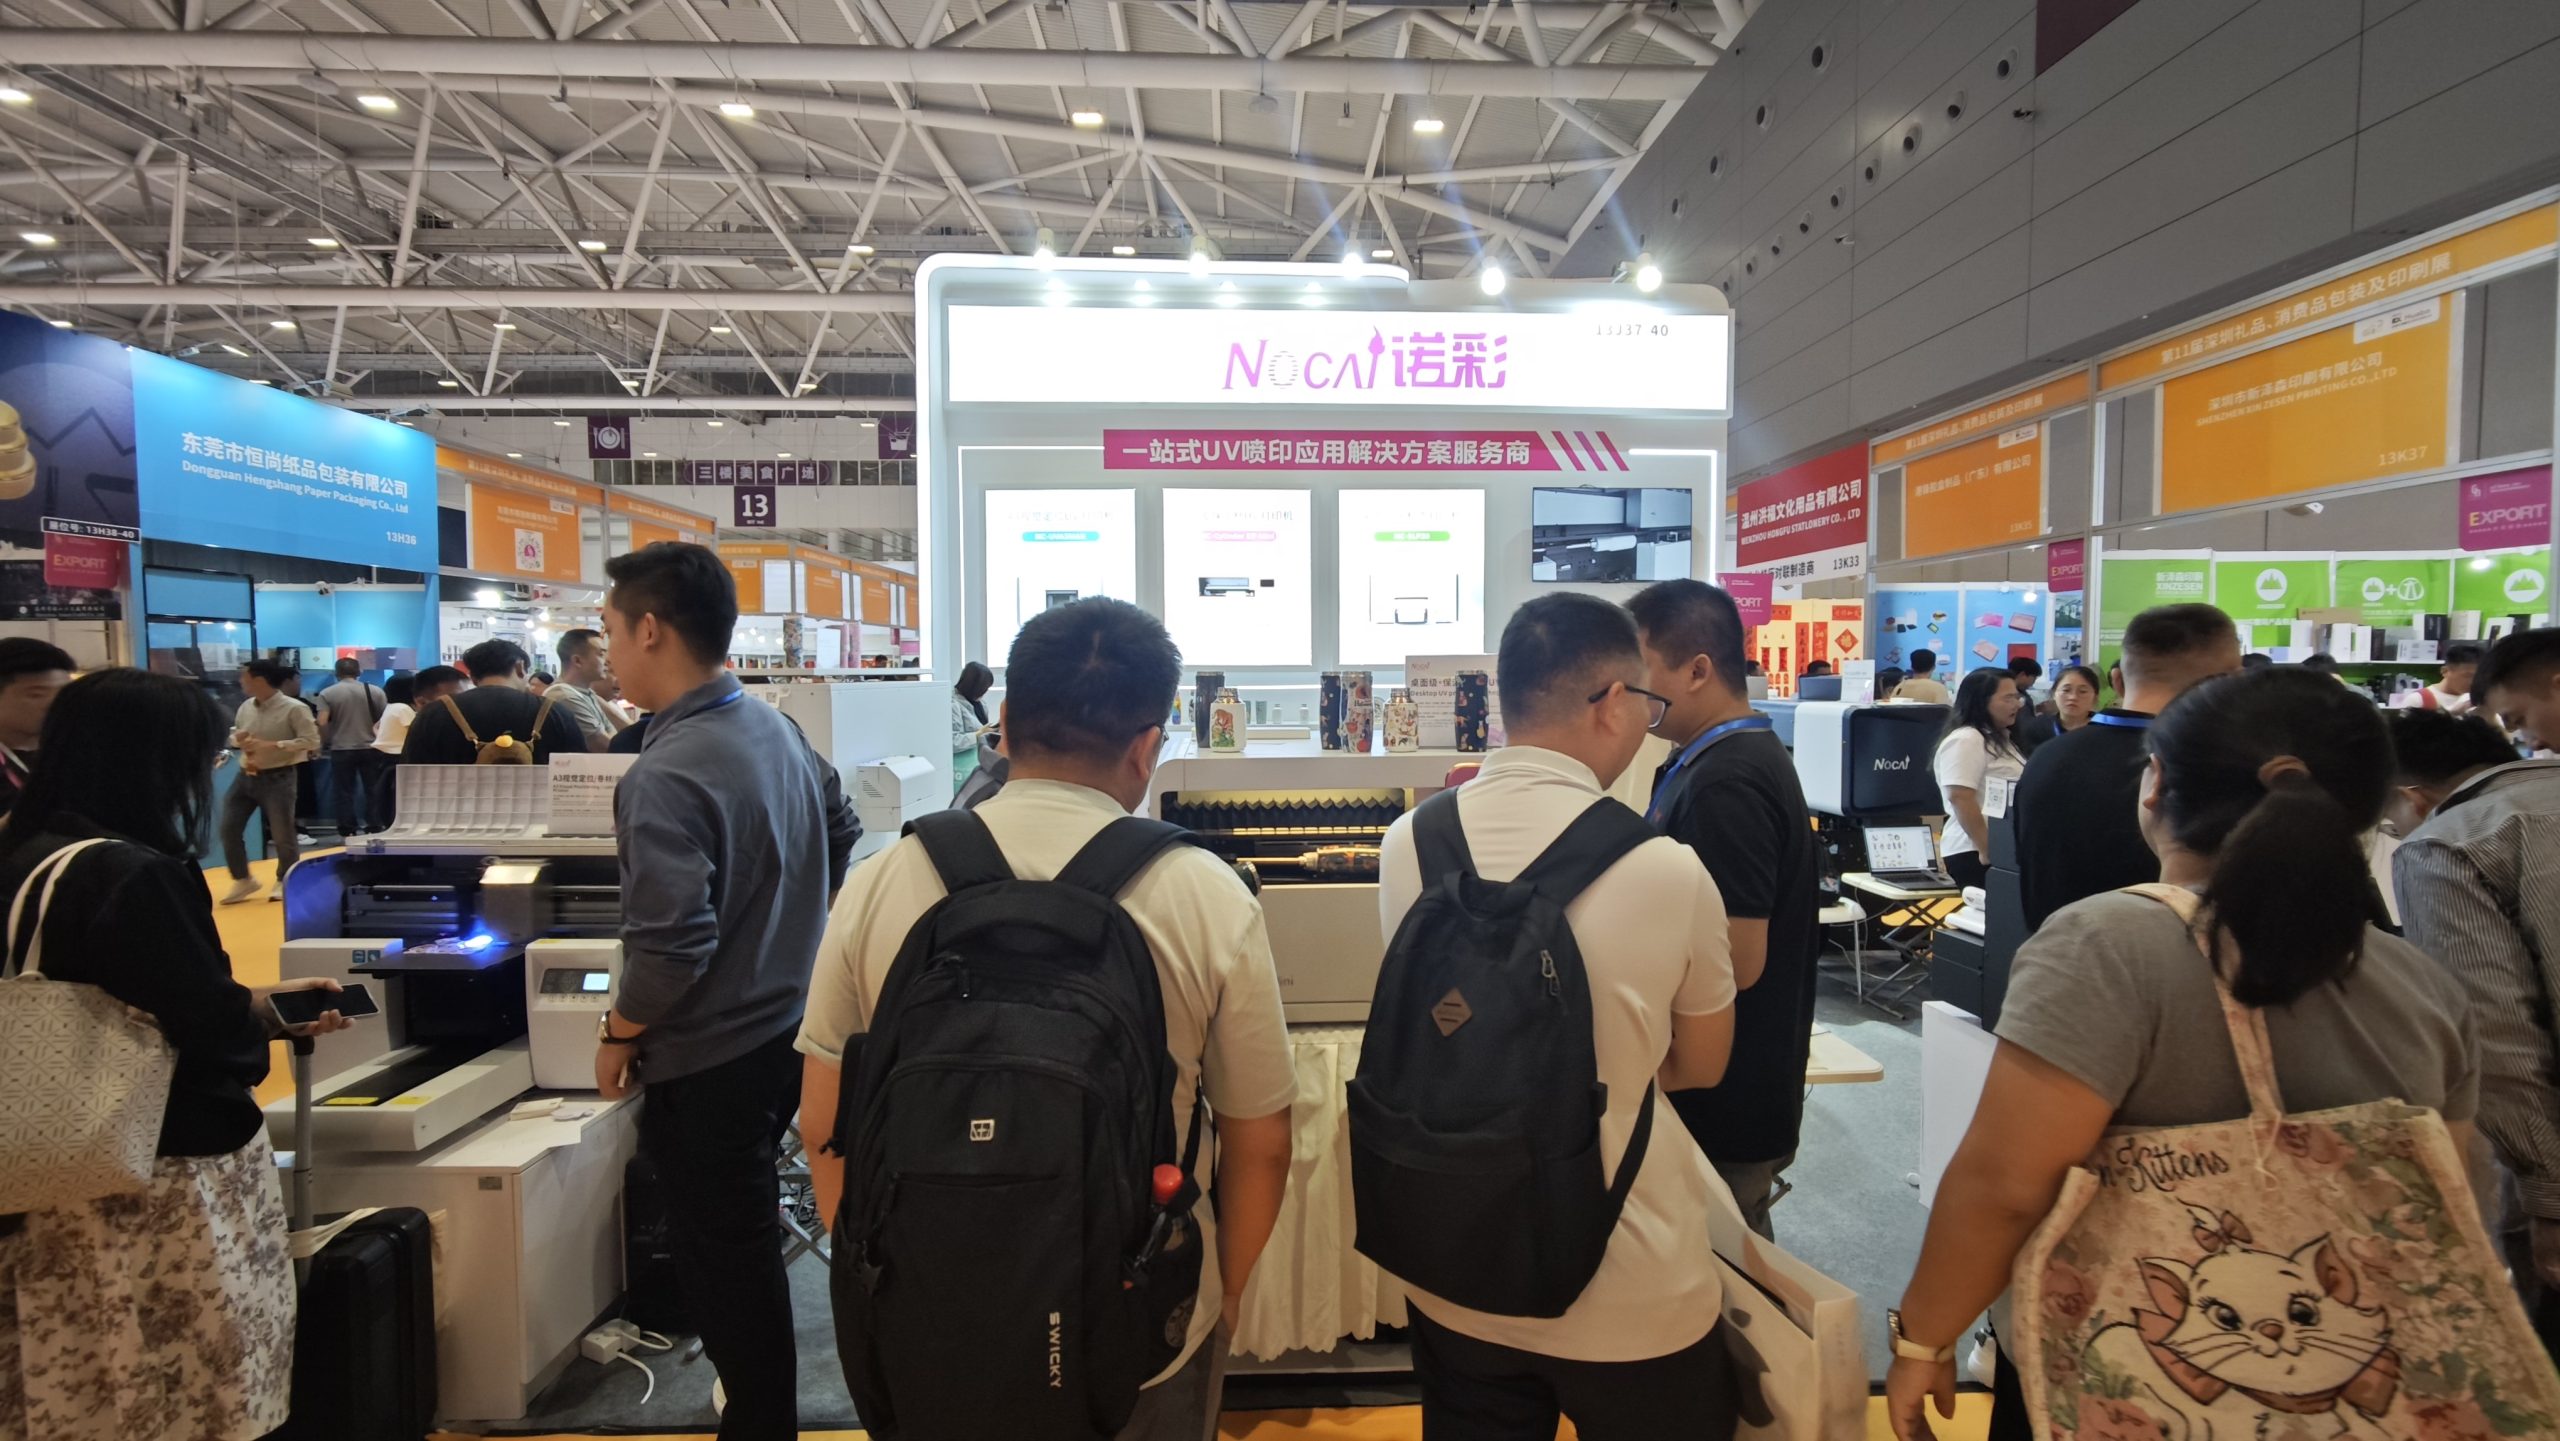
Shenzhen Gift Expo Day2 Focus: Nocai Bestsellers Set the Venue on Fire, Hidden Exhibition Area Exclusively Open
2025-10-21 -

Grand Opening! Live Coverage of the 33rd Shenzhen Gift Expo – Nocai Presents 5 Core Printing Devices at Booth 13J37-40
2025-10-20 -

27th Cross-Strait Longgang Print & Culture Expo Wraps Up! NOCAI Booth A-G7-2: 4 Core Devices + Pro Services Unlock New Industry Potential
2025-10-20 -
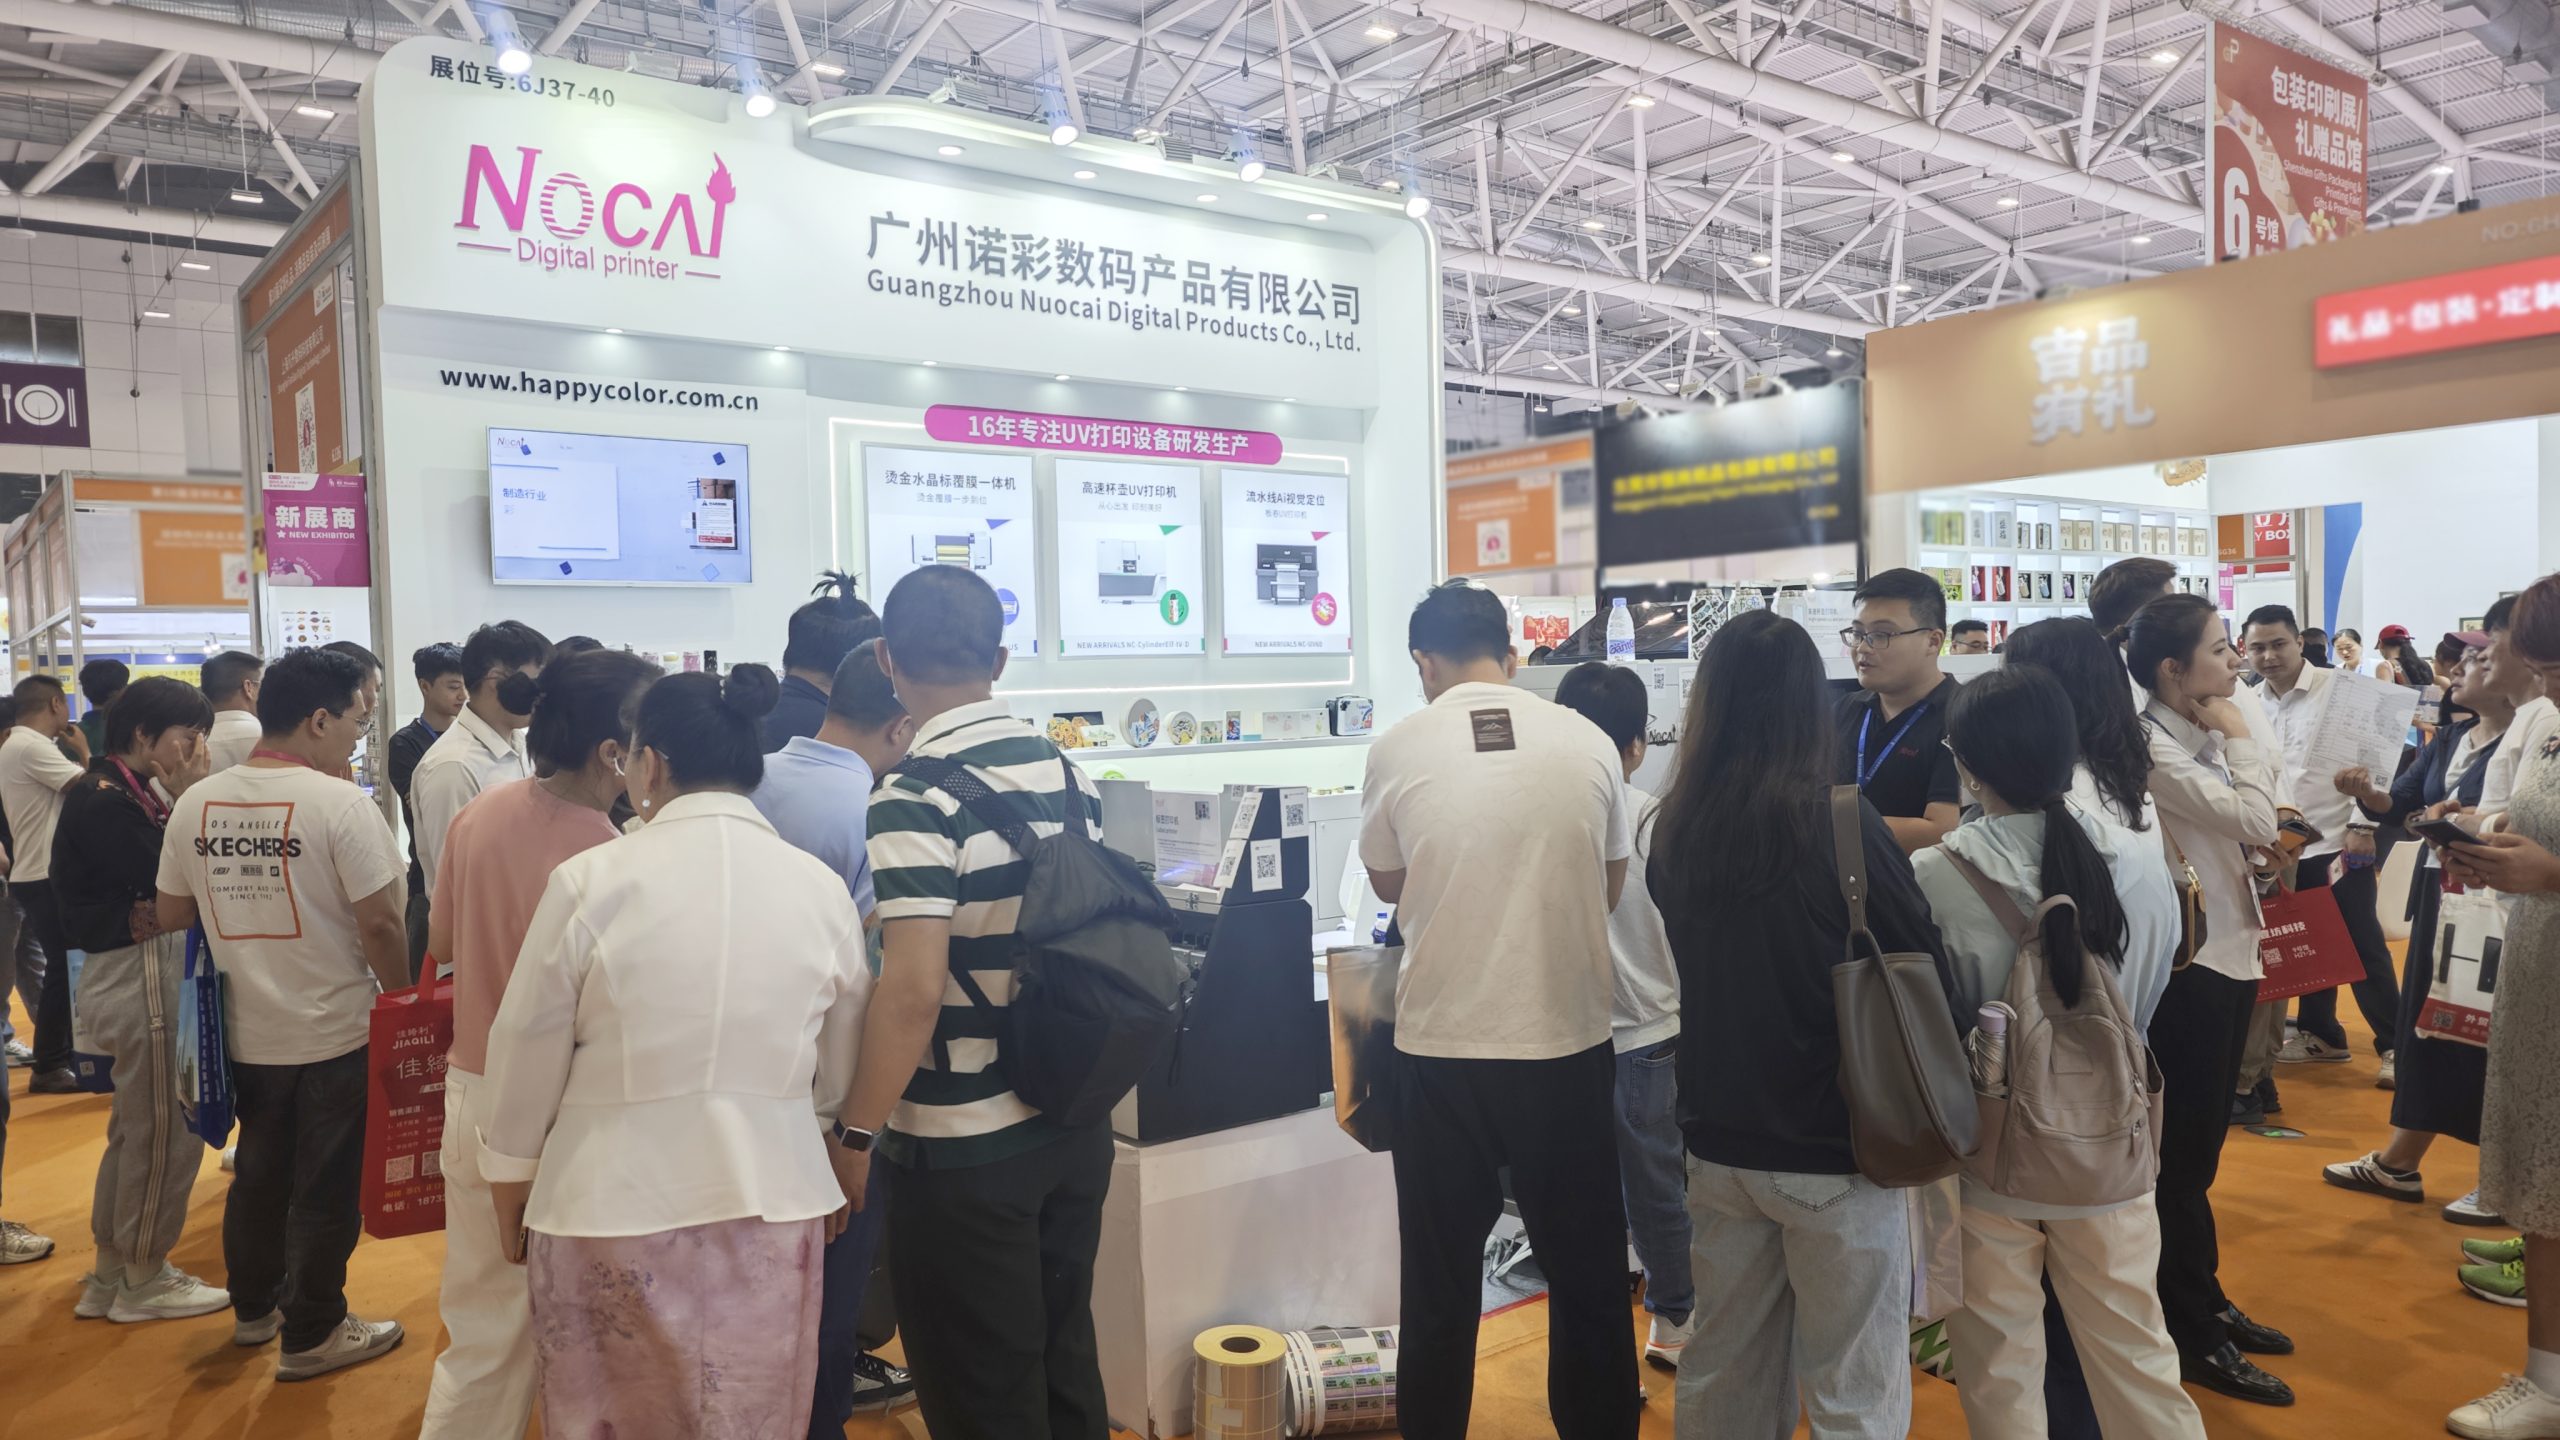
Shenzhen Gifts Fair Concludes Successfully, Nocai Embarks on a New Journey!
2025-08-15 -

Planting for the future- 3.12 Arbor Day, Voluntary action building a green home together!
2025-08-15 -

Women’s Day | “Saluting Your Brilliance, Honoring Trailblazing Women — Nocai Celebrates Every Woman with Festive Blessings & Heartwarming Gifts!”
2025-08-15 -
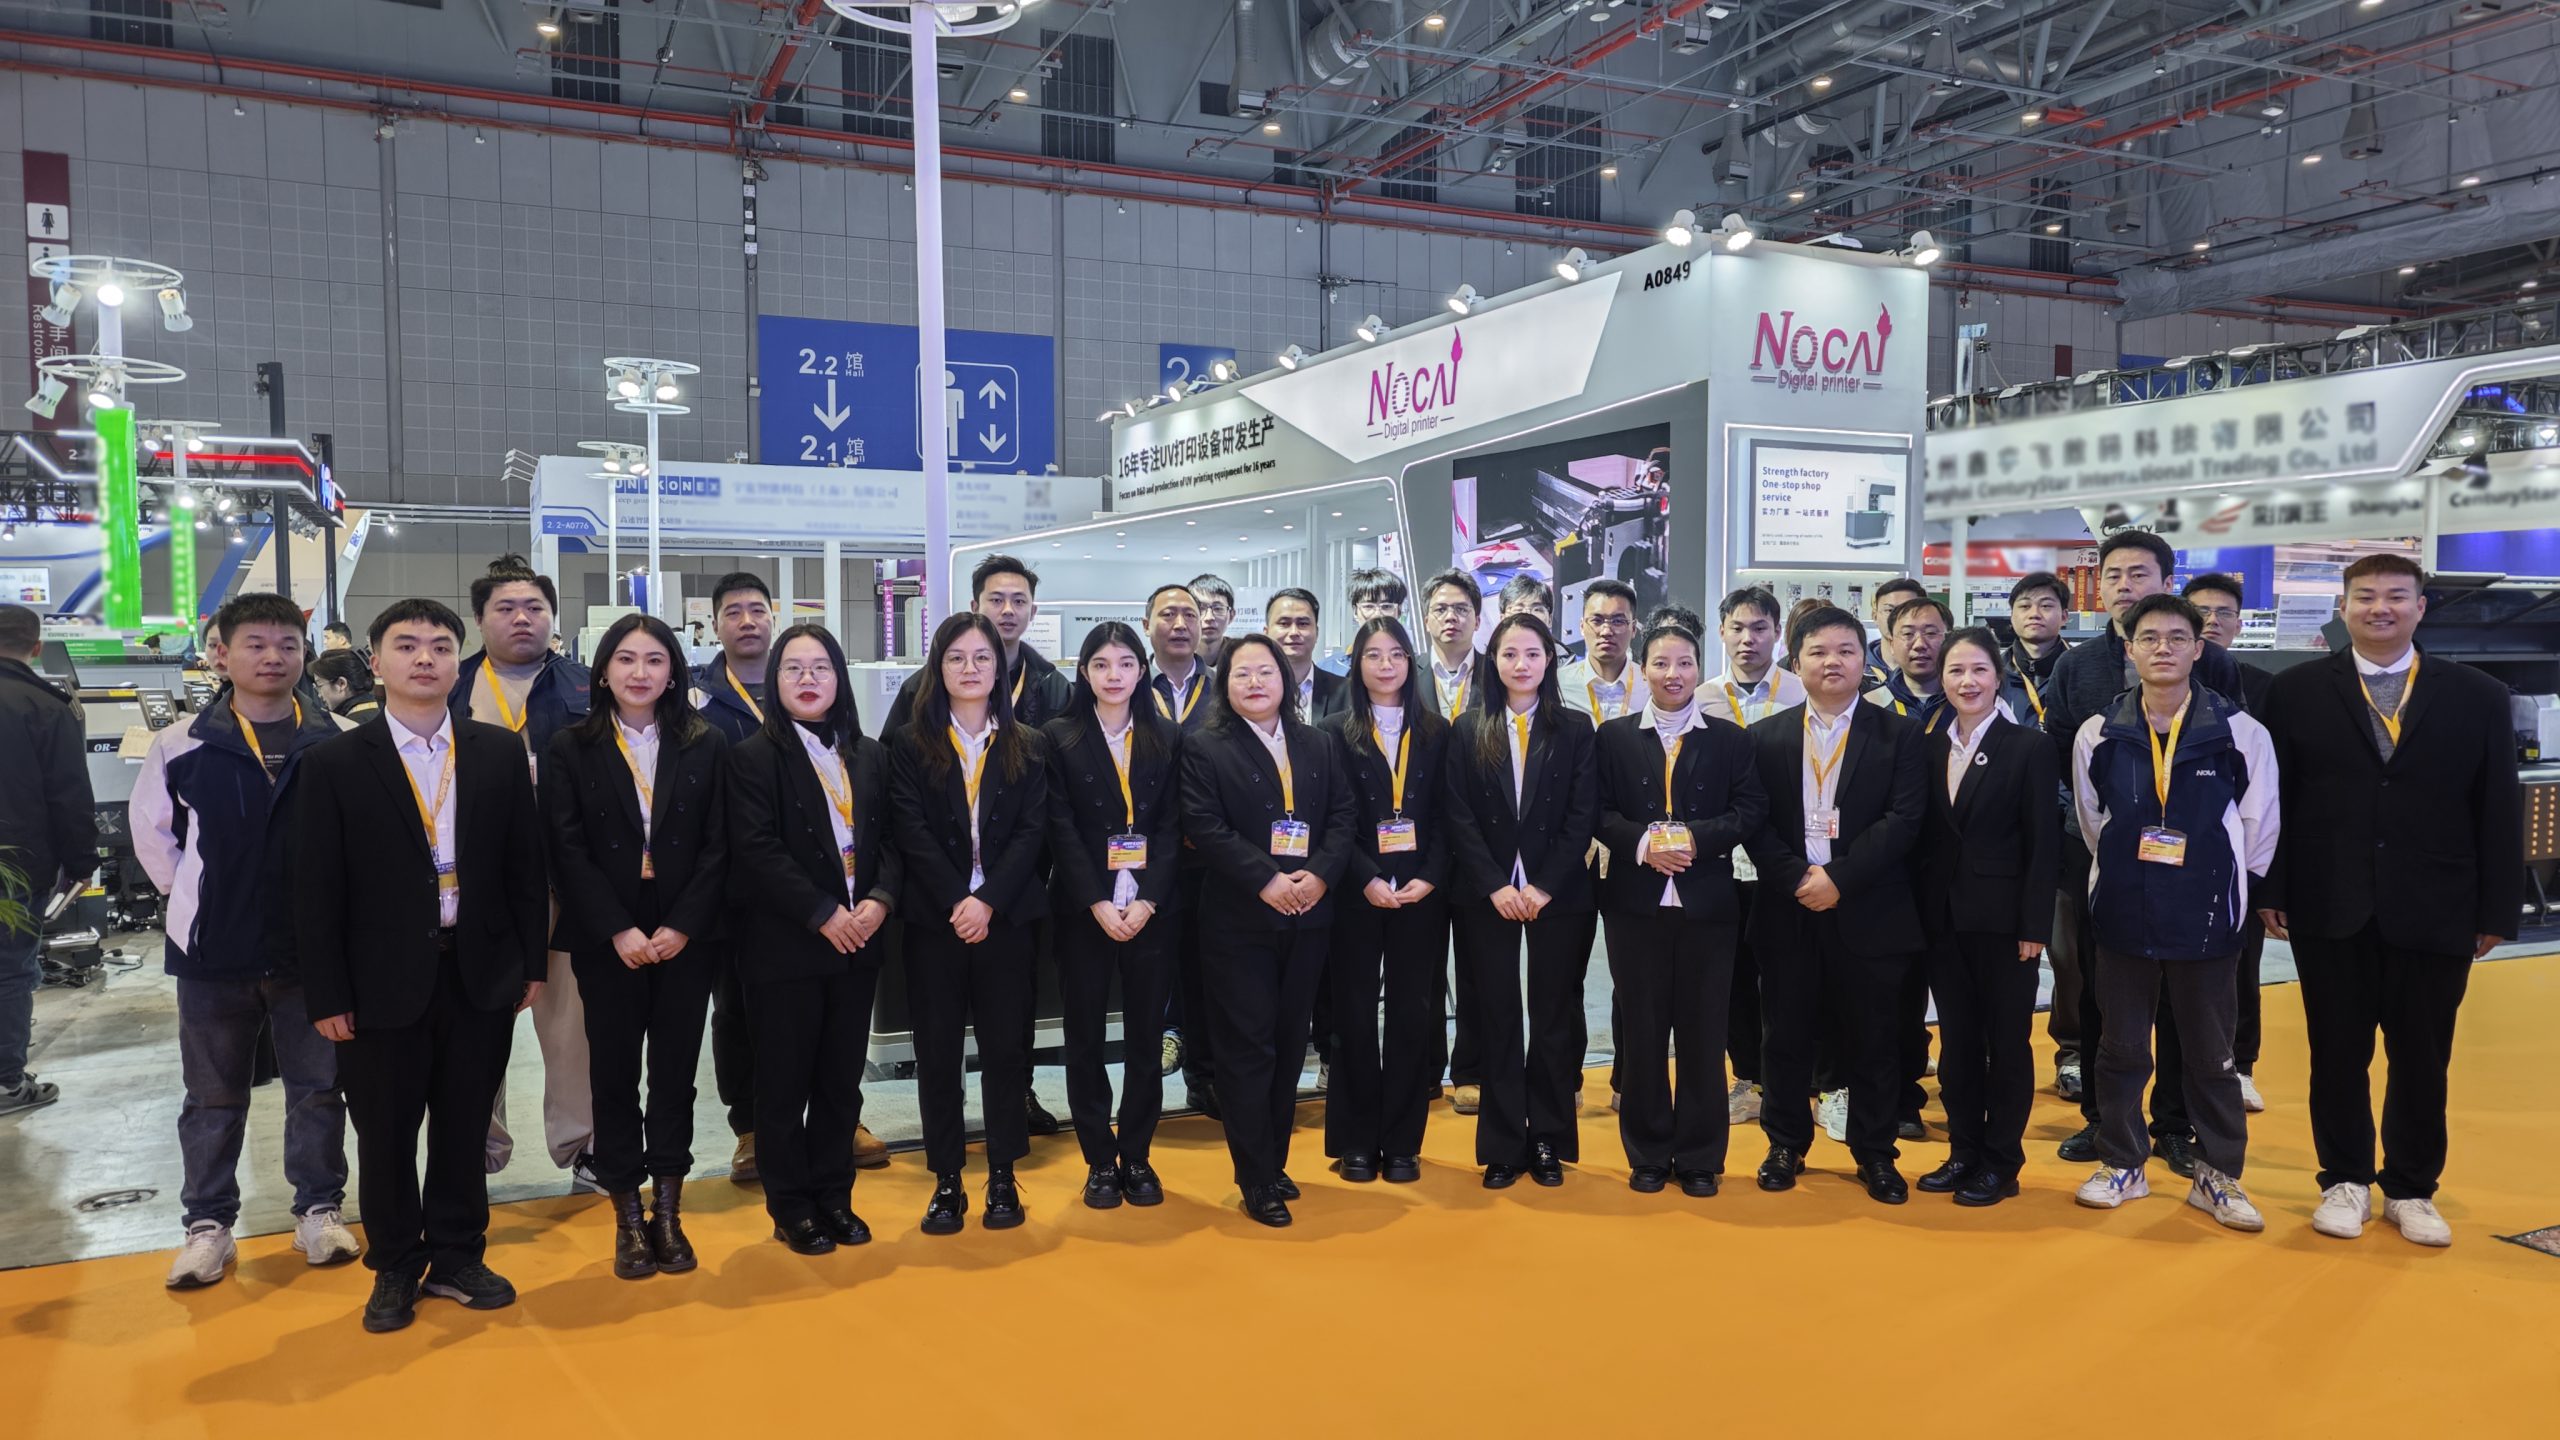
APPPEXPO Concludes Successfully Today! Nocai and Global Partners Co-“Print” Brilliance, Next Stop Will Be Even More Exciting!
2025-08-15 -

“Charting the Course in the Bay Area • Building Dreams in Dagang” — Guangzhou Nocai Invited to High-Quality Growth Forum in Dagang Town
2025-08-15
-
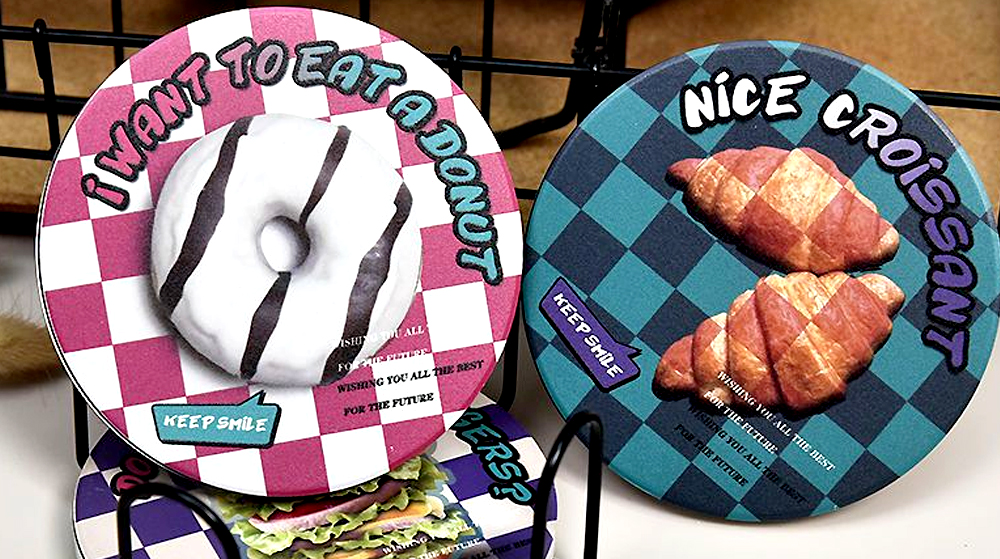
6090 UV Printer Daily Troubleshooting Guide: Make Operation Simpler
2025-11-27 -
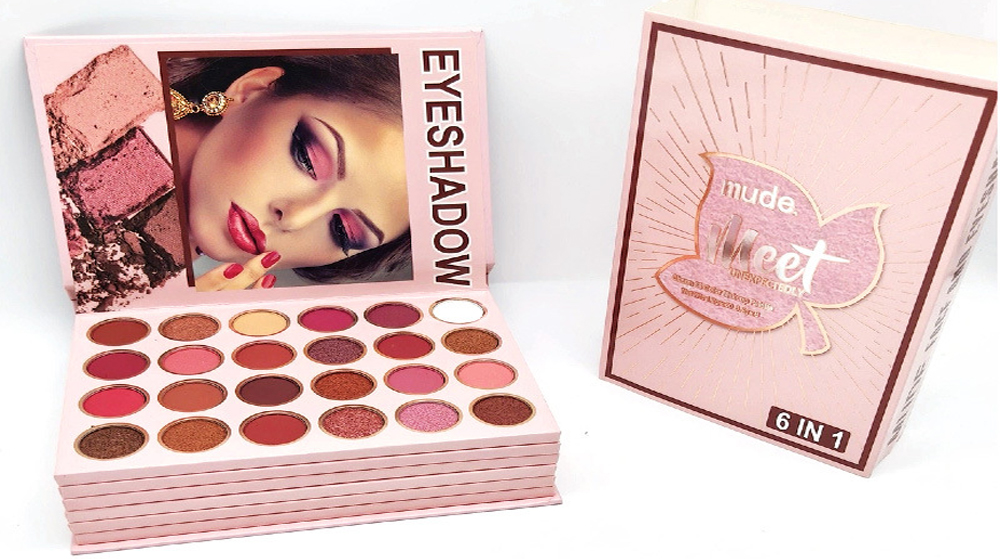
Is Adhesion Adequate for Cosmetic Printer on Bottle Bodies? Here’re the Critical Checks!
2025-11-27 -

UV Flatbed Printer: The Intelligent Weapon Reshaping the Advertising Signage Industry
2025-11-20 -
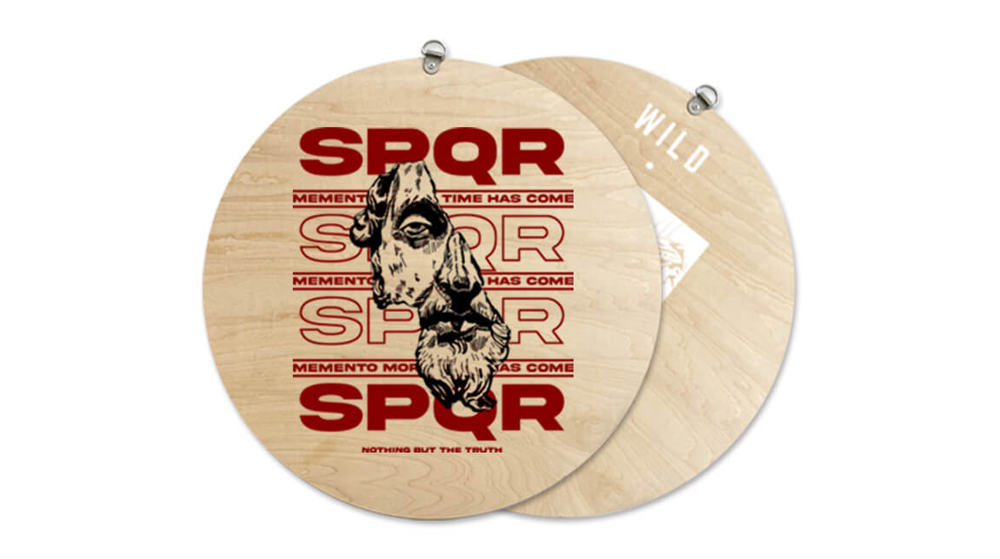
Innovative Design and UV Flatbed Printing: Paving New Paths for Creative Expression
2025-11-20 -

Still Worried About High Sample Proofing Costs? One UV Printer Solves It All!
2025-11-12 -

6090 UV Printer Troubleshooting: Common Problems and Solutions
2025-11-12 -
Profit Engine Amid the Customization Wave: How UV Flatbed Printers Drive Business Growth
2025-11-07 -

UV Flatbed Printers: Unlocking New Entrepreneurial Paths in the Personalized Customization Market
2025-11-07 -
Maintenance of Small-Sized UV Flatbed Printers: 4 Steps to Extend Equipment Lifespan
2025-10-29 -

Complete Buying Guide for 6090 Flatbed Printer Specialized for Glass/Metal
2025-10-29
CONTACT US


Guangzhou Nuocai Digital Products Co., Ltd.
If you would like to keep touch with us directly, please go to contact us


