
6090 UV Printer Troubleshooting: Common Problems and Solutions
- By:uv digital printing
- 2025-11-12
- 480
The 6090 UV printer, with its powerful versatility, has become a valuable assistant for entrepreneurs and small and medium-sized enterprises. However, like any precision digital manufacturing equipment, it is inevitable to encounter some malfunctions in daily use. Timely diagnosis and correct handling are the keys to ensuring production efficiency and extending the equipment’s service life. This article sorts out several common types of problems with the 6090 UV printer and their solutions, helping you quickly eliminate obstacles and resume efficient production.
Print Quality Issues
- Problem: Broken Lines/White Streaks
Phenomenon: White lines appear in printed patterns, with discontinuous colors.
Troubleshooting Tips:
—First Step: Perform printhead cleaning. Execute 1-2 light cleanings via the device driver software. Do not frequently perform strong cleanings, as this may waste ink and damage the printhead.
—Check the ink circuit system: Observe if there are air bubbles or air leaks in the ink tubes, and if the ink in the ink cartridges is sufficient.
—Check the negative pressure value: Unstable negative pressure is a common cause of broken lines. Ensure the negative pressure value is within the normal range specified by the device.
—Possible causes: Slight clogging of the printhead, improper ink viscosity (too low temperature), incorrect setting of the negative pressure value.
- Problem: Blurred Patterns/Double Images
Phenomenon: The edges of printed text or images are blurred or have double images.
Troubleshooting Tips:
—Calibrate the printhead carriage height: Check and adjust the distance between the printhead and the printing material. Too large a distance will lead to inaccurate ink droplet placement; too small a distance may scratch the printhead or the material.
—Perform grating calibration: The grating strip on the right (or rear) side of the device acts as a “ruler” for printhead carriage positioning. Clean the grating strip with anhydrous alcohol and a lint-free cloth, then perform grating calibration via the software.
—Check platform stability: Ensure the printing platform is firmly fixed without looseness. During printing, there should be no shaking of the platform or the material.
- Problem: Poor Adhesion/Easily Scratched Off
Phenomenon: The printed patterns on the material can be easily scratched off with nails or tape.
Troubleshooting Tips:
—Check material treatment: This is the most common cause. Did you thoroughly clean the material surface (e.g., with alcohol) before printing? For materials with poor adhesion (such as metal, glass, and certain plastics), did you spray them with special treatment fluid/coating?
—Check UV lamp power: Aging UV lamps or insufficient power will result in incomplete ink curing. Check the working status of the UV lamp and replace the aging tube if necessary.
—Confirm ink compatibility: Ensure you are using the original or recommended UV ink for the device.
Equipment Operation Issues
- Problem: Printhead Carriage Collision
Phenomenon: During printing, the printhead carriage is blocked in movement, collides with the platform or material, and the machine reports an error.
Troubleshooting Tips:
—Pause printing immediately! Prevent damage to the printhead and guide rail.
—Check platform height: Confirm if the platform is lifted too high, exceeding the safe range.
—Check materials and fixtures: Is the material too thick? Are the fixtures fixing the material loose or protruding, blocking the printhead carriage’s path?
—Check guide rail and belt: Observe if there are foreign objects (such as solidified ink blocks) on the guide rail, and if the belt is too loose or too tight.
- Problem: Machine Fails to Recognize Ink Cartridge/Reports Error
Phenomenon: The software prompts ink cartridge error, chip recognition failure, or abnormal ink level.
Troubleshooting Tips:
—Reinsert the ink cartridge: After turning off the machine, reinsert the ink cartridge to ensure good contact of the chip contacts.
—Clean chip contacts: Gently clean the chip on the ink cartridge and the contacts inside the machine with anhydrous alcohol and a cotton swab.
—Reset operation: Try performing the “ink cartridge reset” or “refresh ink cartridge information” operation in the device software.
UV Curing System Issues
Problem: Ink Fails to Dry or Surface Feels Tacky
Phenomenon: After printing, the ink remains liquid or the surface feels sticky to the touch.
Troubleshooting Tips:
—Check if the UV lamp is turned on: Confirm that the UV lamp power is switched on during printing and that its brightness is normal.
—Adjust UV lamp power or printing speed: If the ink doesn’t dry, appropriately increase the UV lamp power or decrease the printing speed to allow the ink to receive UV irradiation for a longer time.
—Environmental factors: The efficiency of the UV lamp may decrease at excessively low room temperatures. Ensure the working environment temperature is within the range required by the device.
—Lamp aging: UV lamps have a service life. If used for too long, they may fail to effectively cure the ink even if they are lit—replace them in a timely manner.
Develop Good Habits to Prevent Problems Before They Occur
The best troubleshooting is prevention. Please keep in mind the following daily maintenance key points:
—Daily power on/off: After turning on the machine every day, print a test strip to check the printhead status. When shutting down, use the software to power off normally—this allows the carriage to return to its home position and the device to automatically complete sealing maintenance.
—Keep it clean: Regularly clean the printing platform, guide rails, grating strip, and ink splatters around the printhead.
—Stable environment: Place the device in an environment with relatively stable temperature (e.g., 20-28℃) and humidity (e.g., 40%-60%), avoiding direct sunlight and dust.
—Use genuine consumables: Original or certified ink and cleaning fluid are the lifeblood of the device’s stable operation.
When a malfunction occurs, stay calm and follow the principle of “from outside to inside, from simple to complex” for troubleshooting. Most common problems can be solved through daily maintenance and basic calibration. If the problem is complex or involves core components, be sure to contact your equipment supplier or professional technicians immediately. Do not blindly disassemble the device by yourself to avoid greater losses.

-
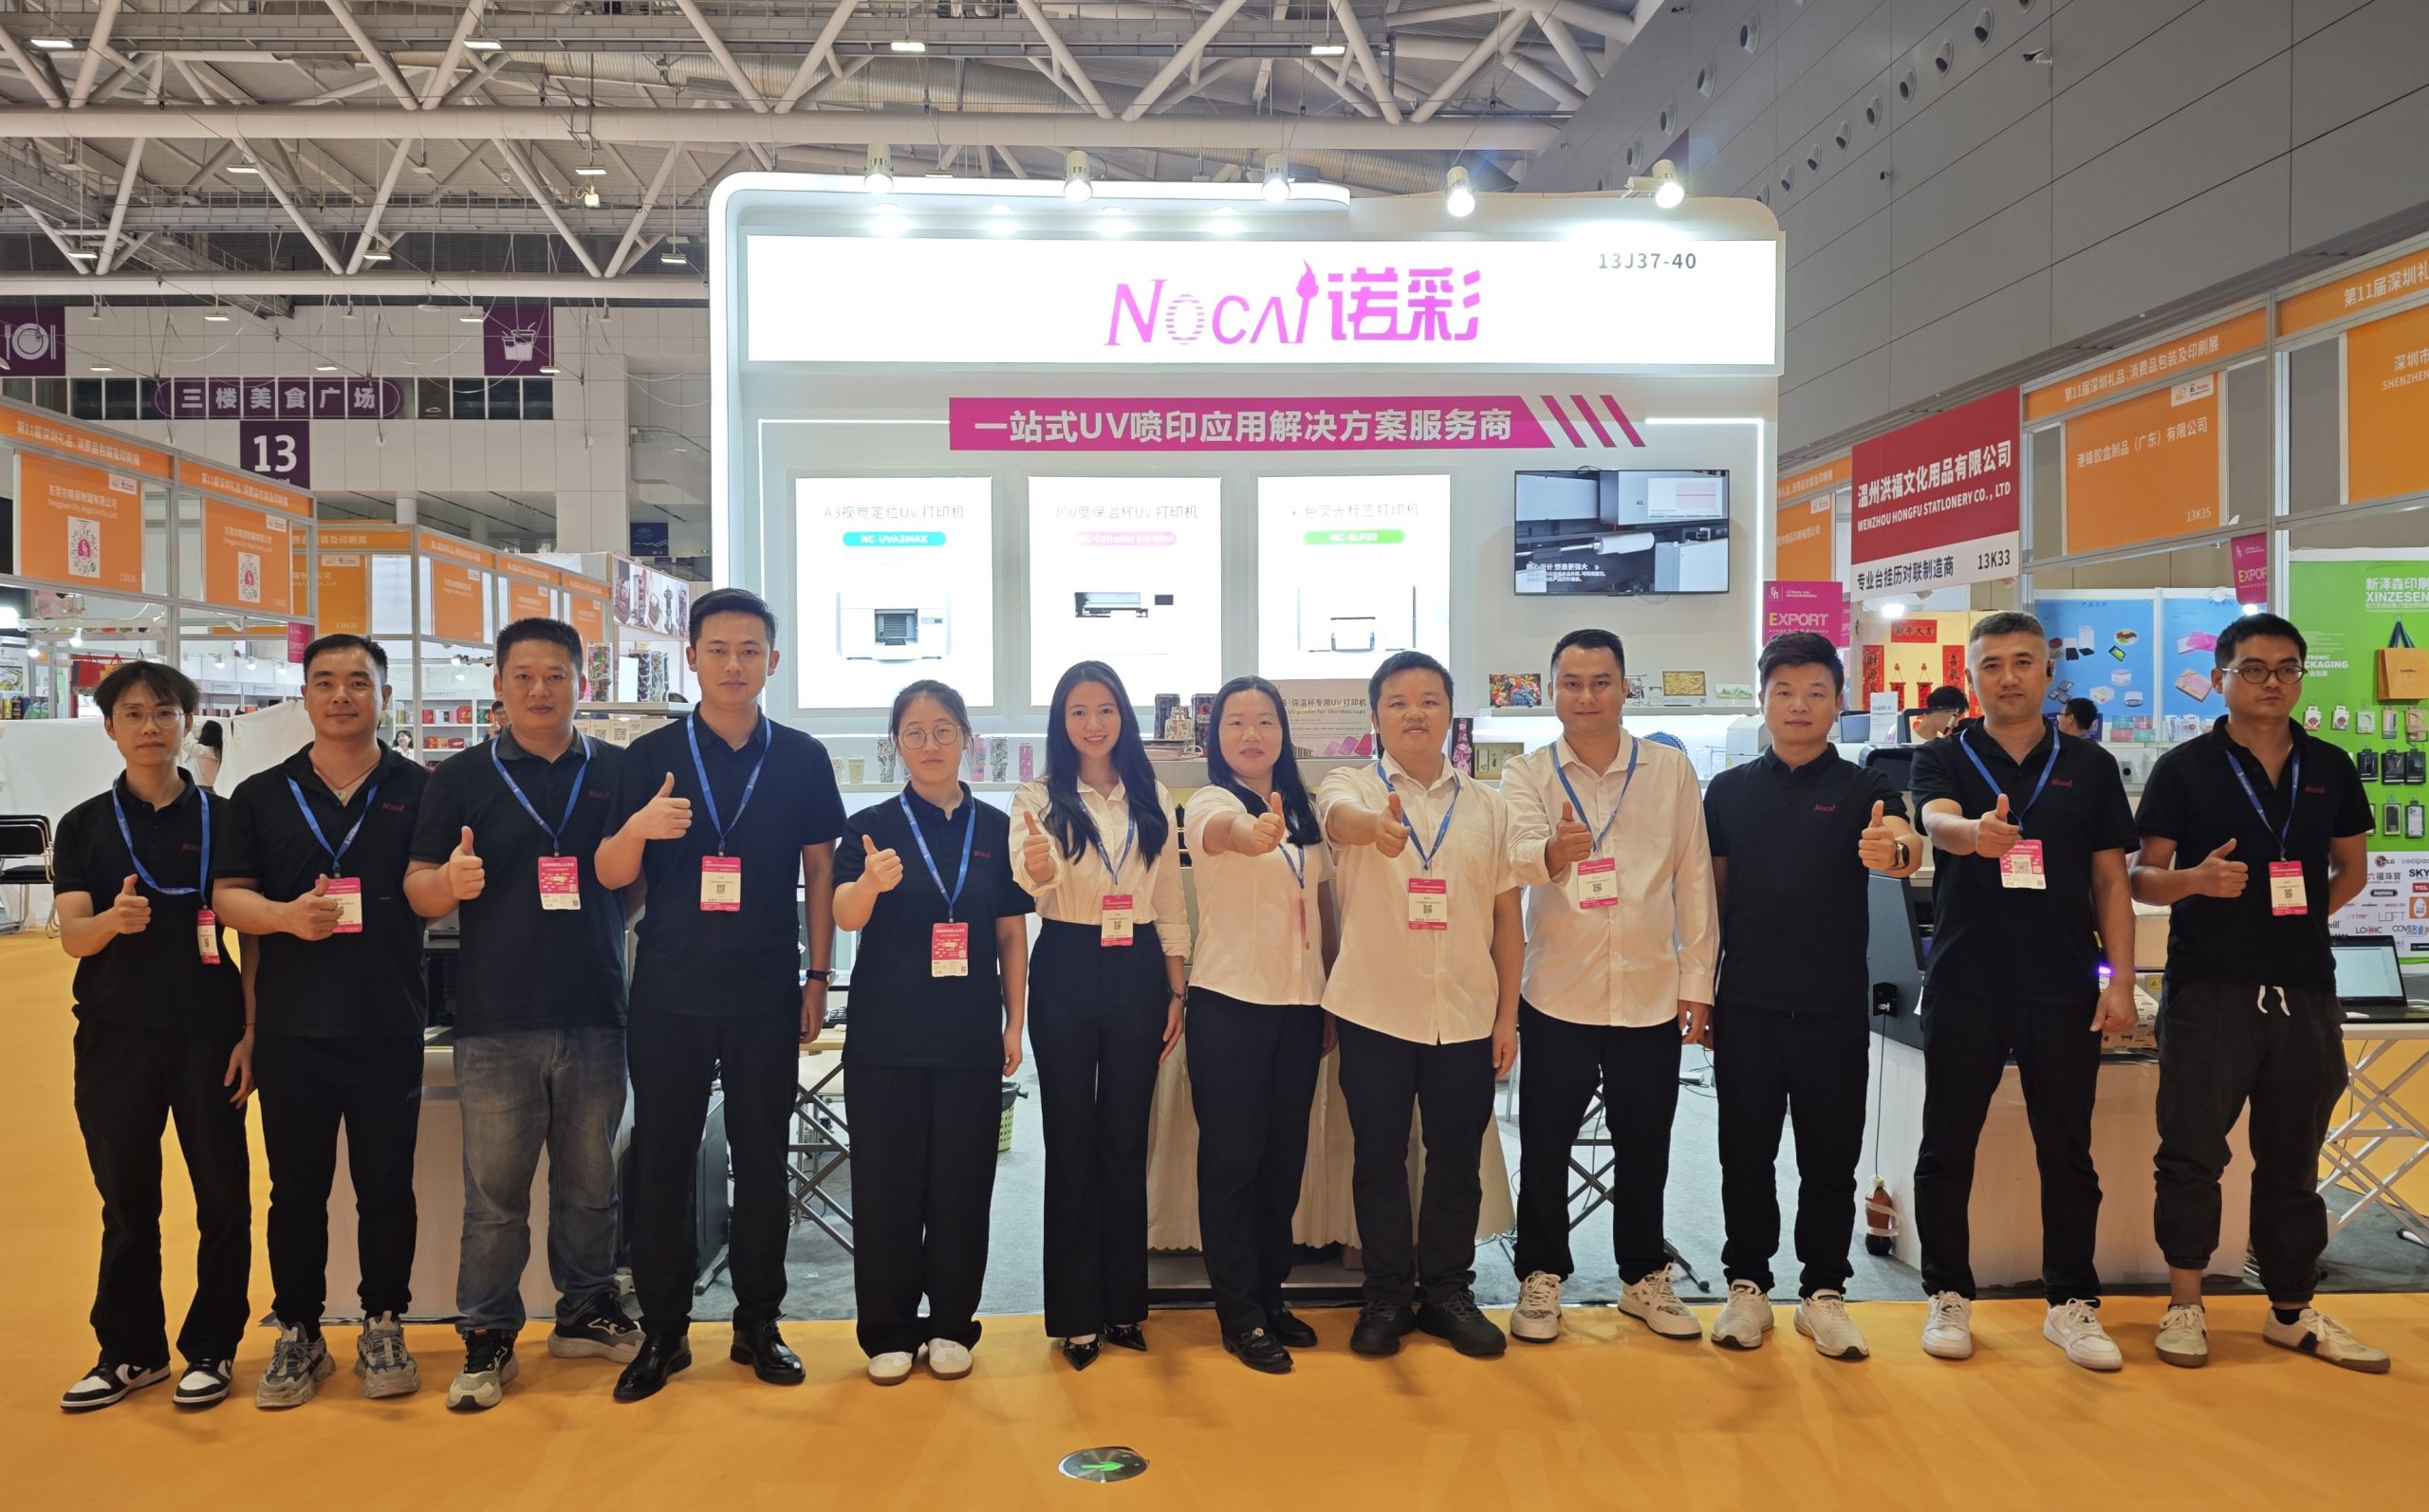
Successfully Concluded! Nocai Shenzhen Expo Achieves a Double Harvest of Popularity and Results—We Sincerely Invite You to Visit and Inspect!
2025-10-23 -
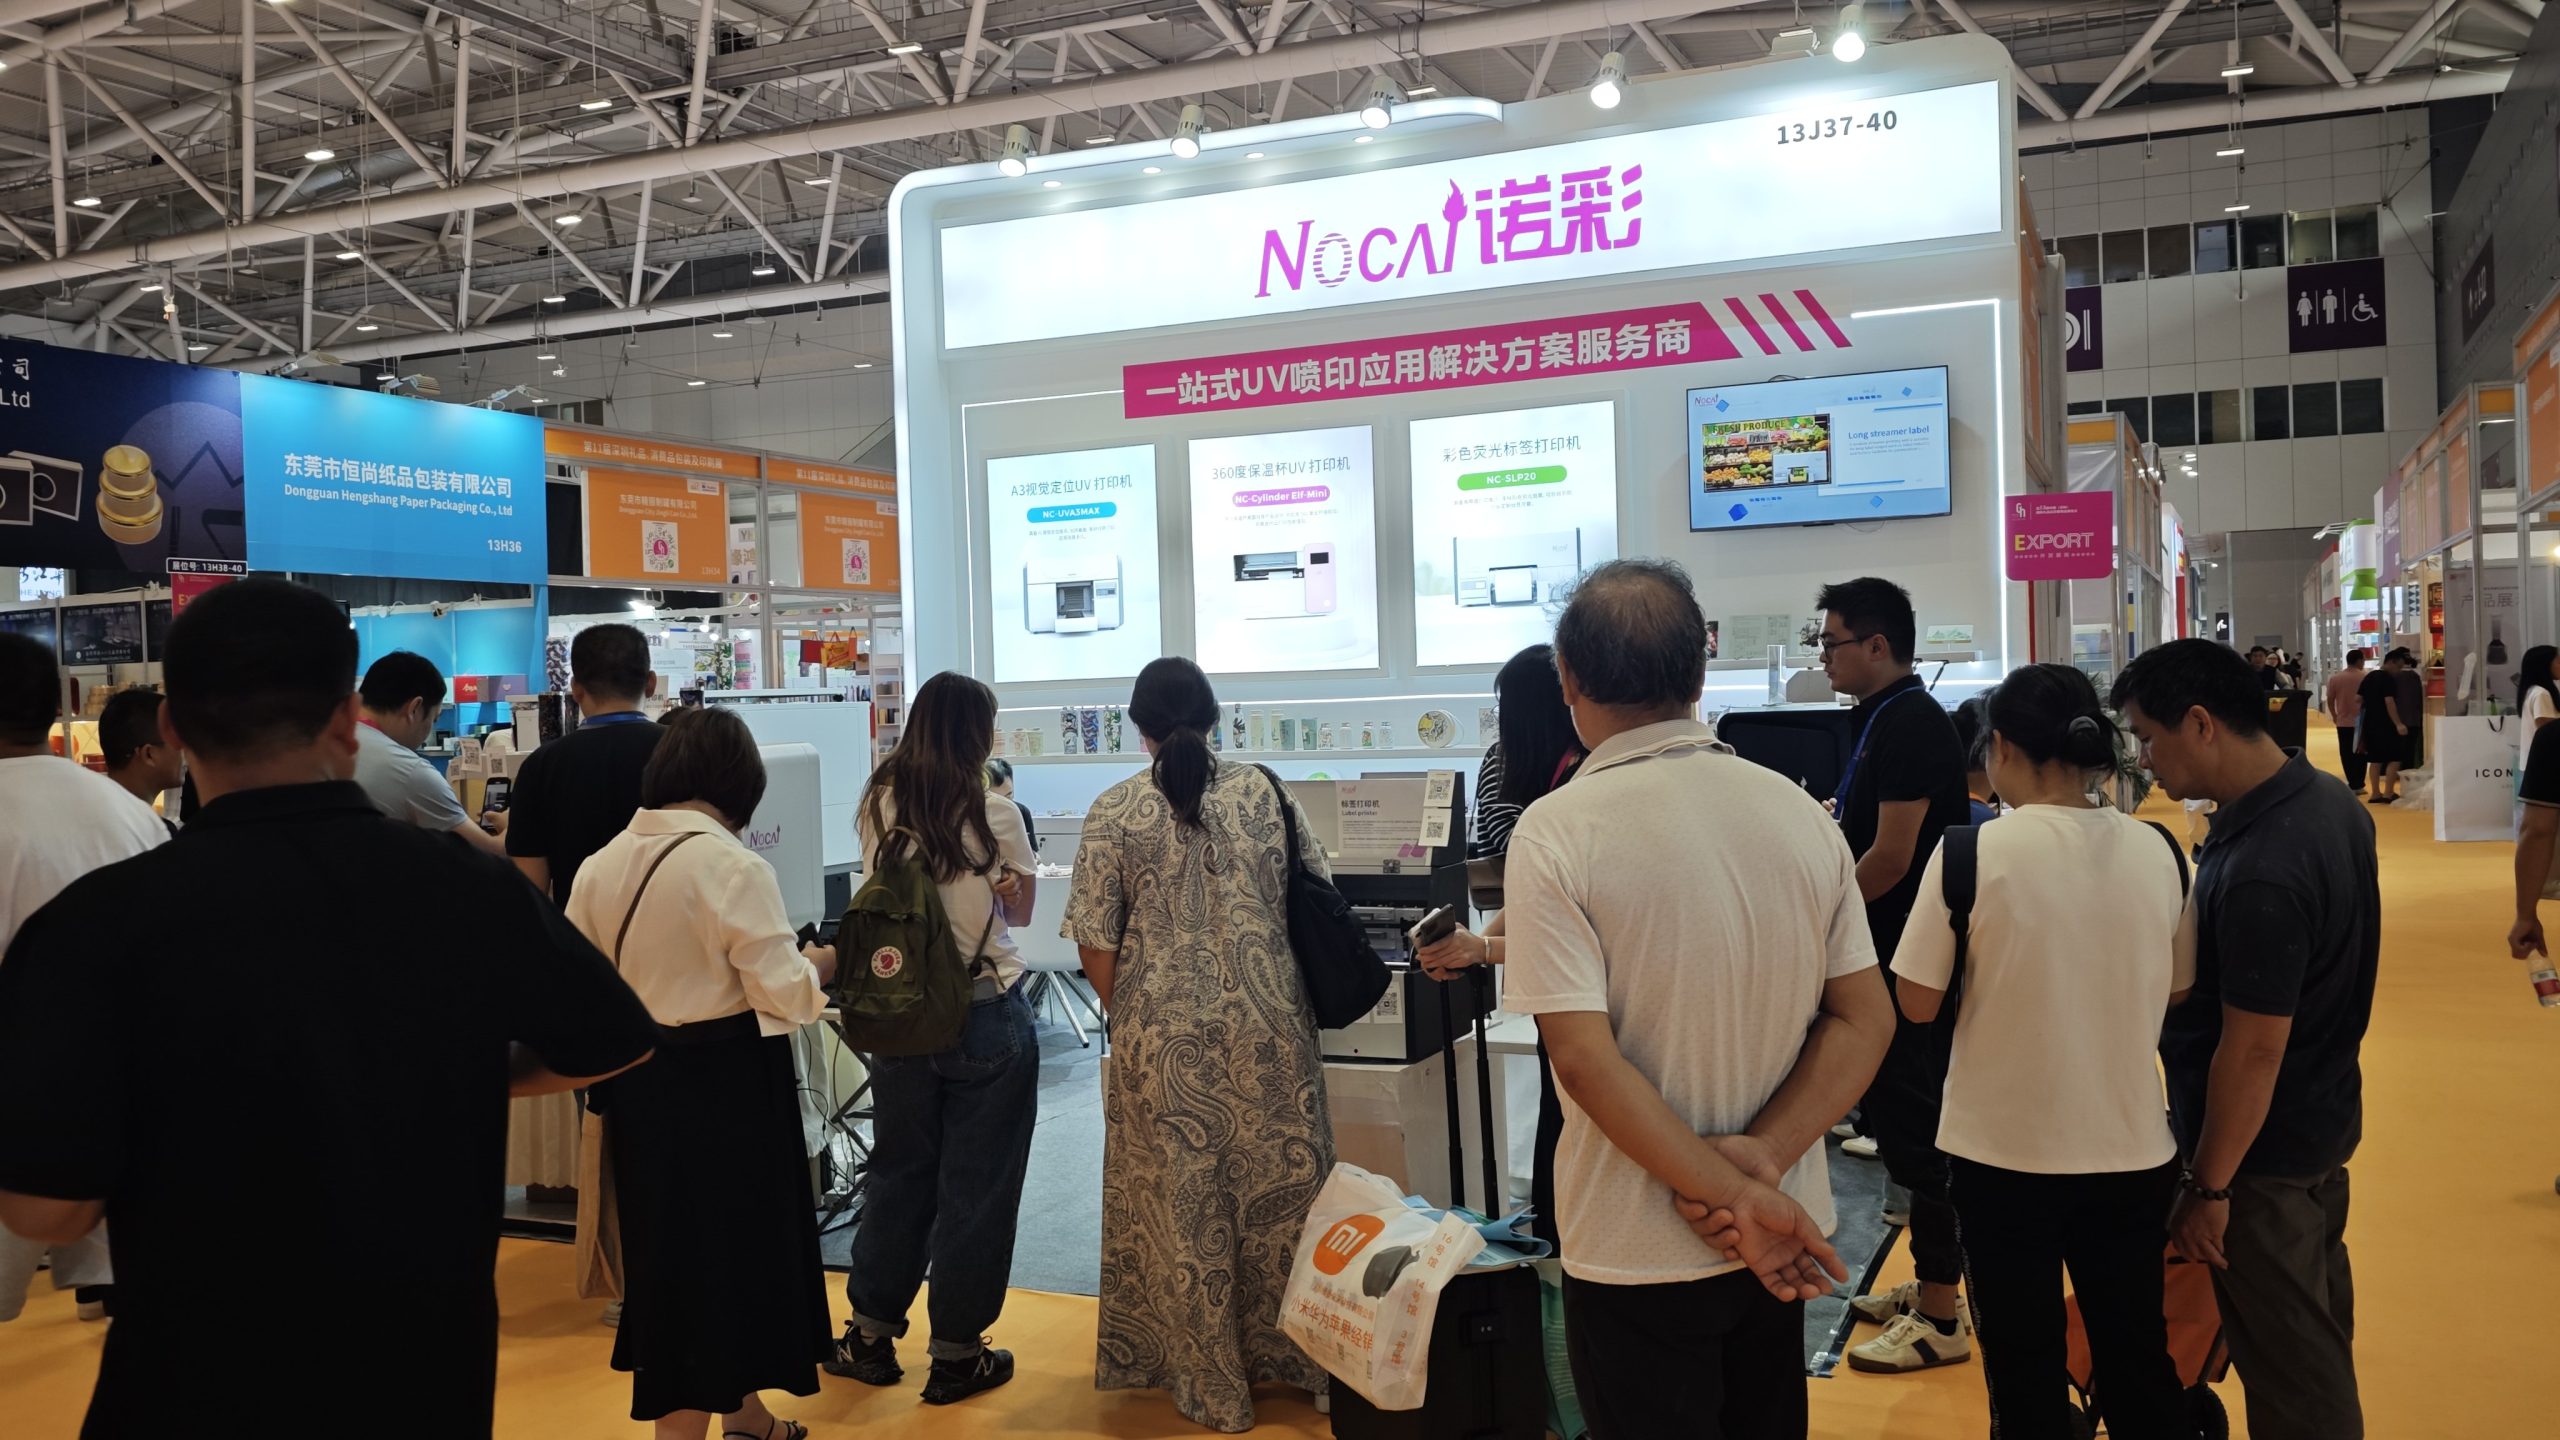
Nocai Shenzhen Expo Day 3 is a hit! Tomorrow is the last day—Hall 13, Booth J37-40 is waiting for you!
2025-10-22 -
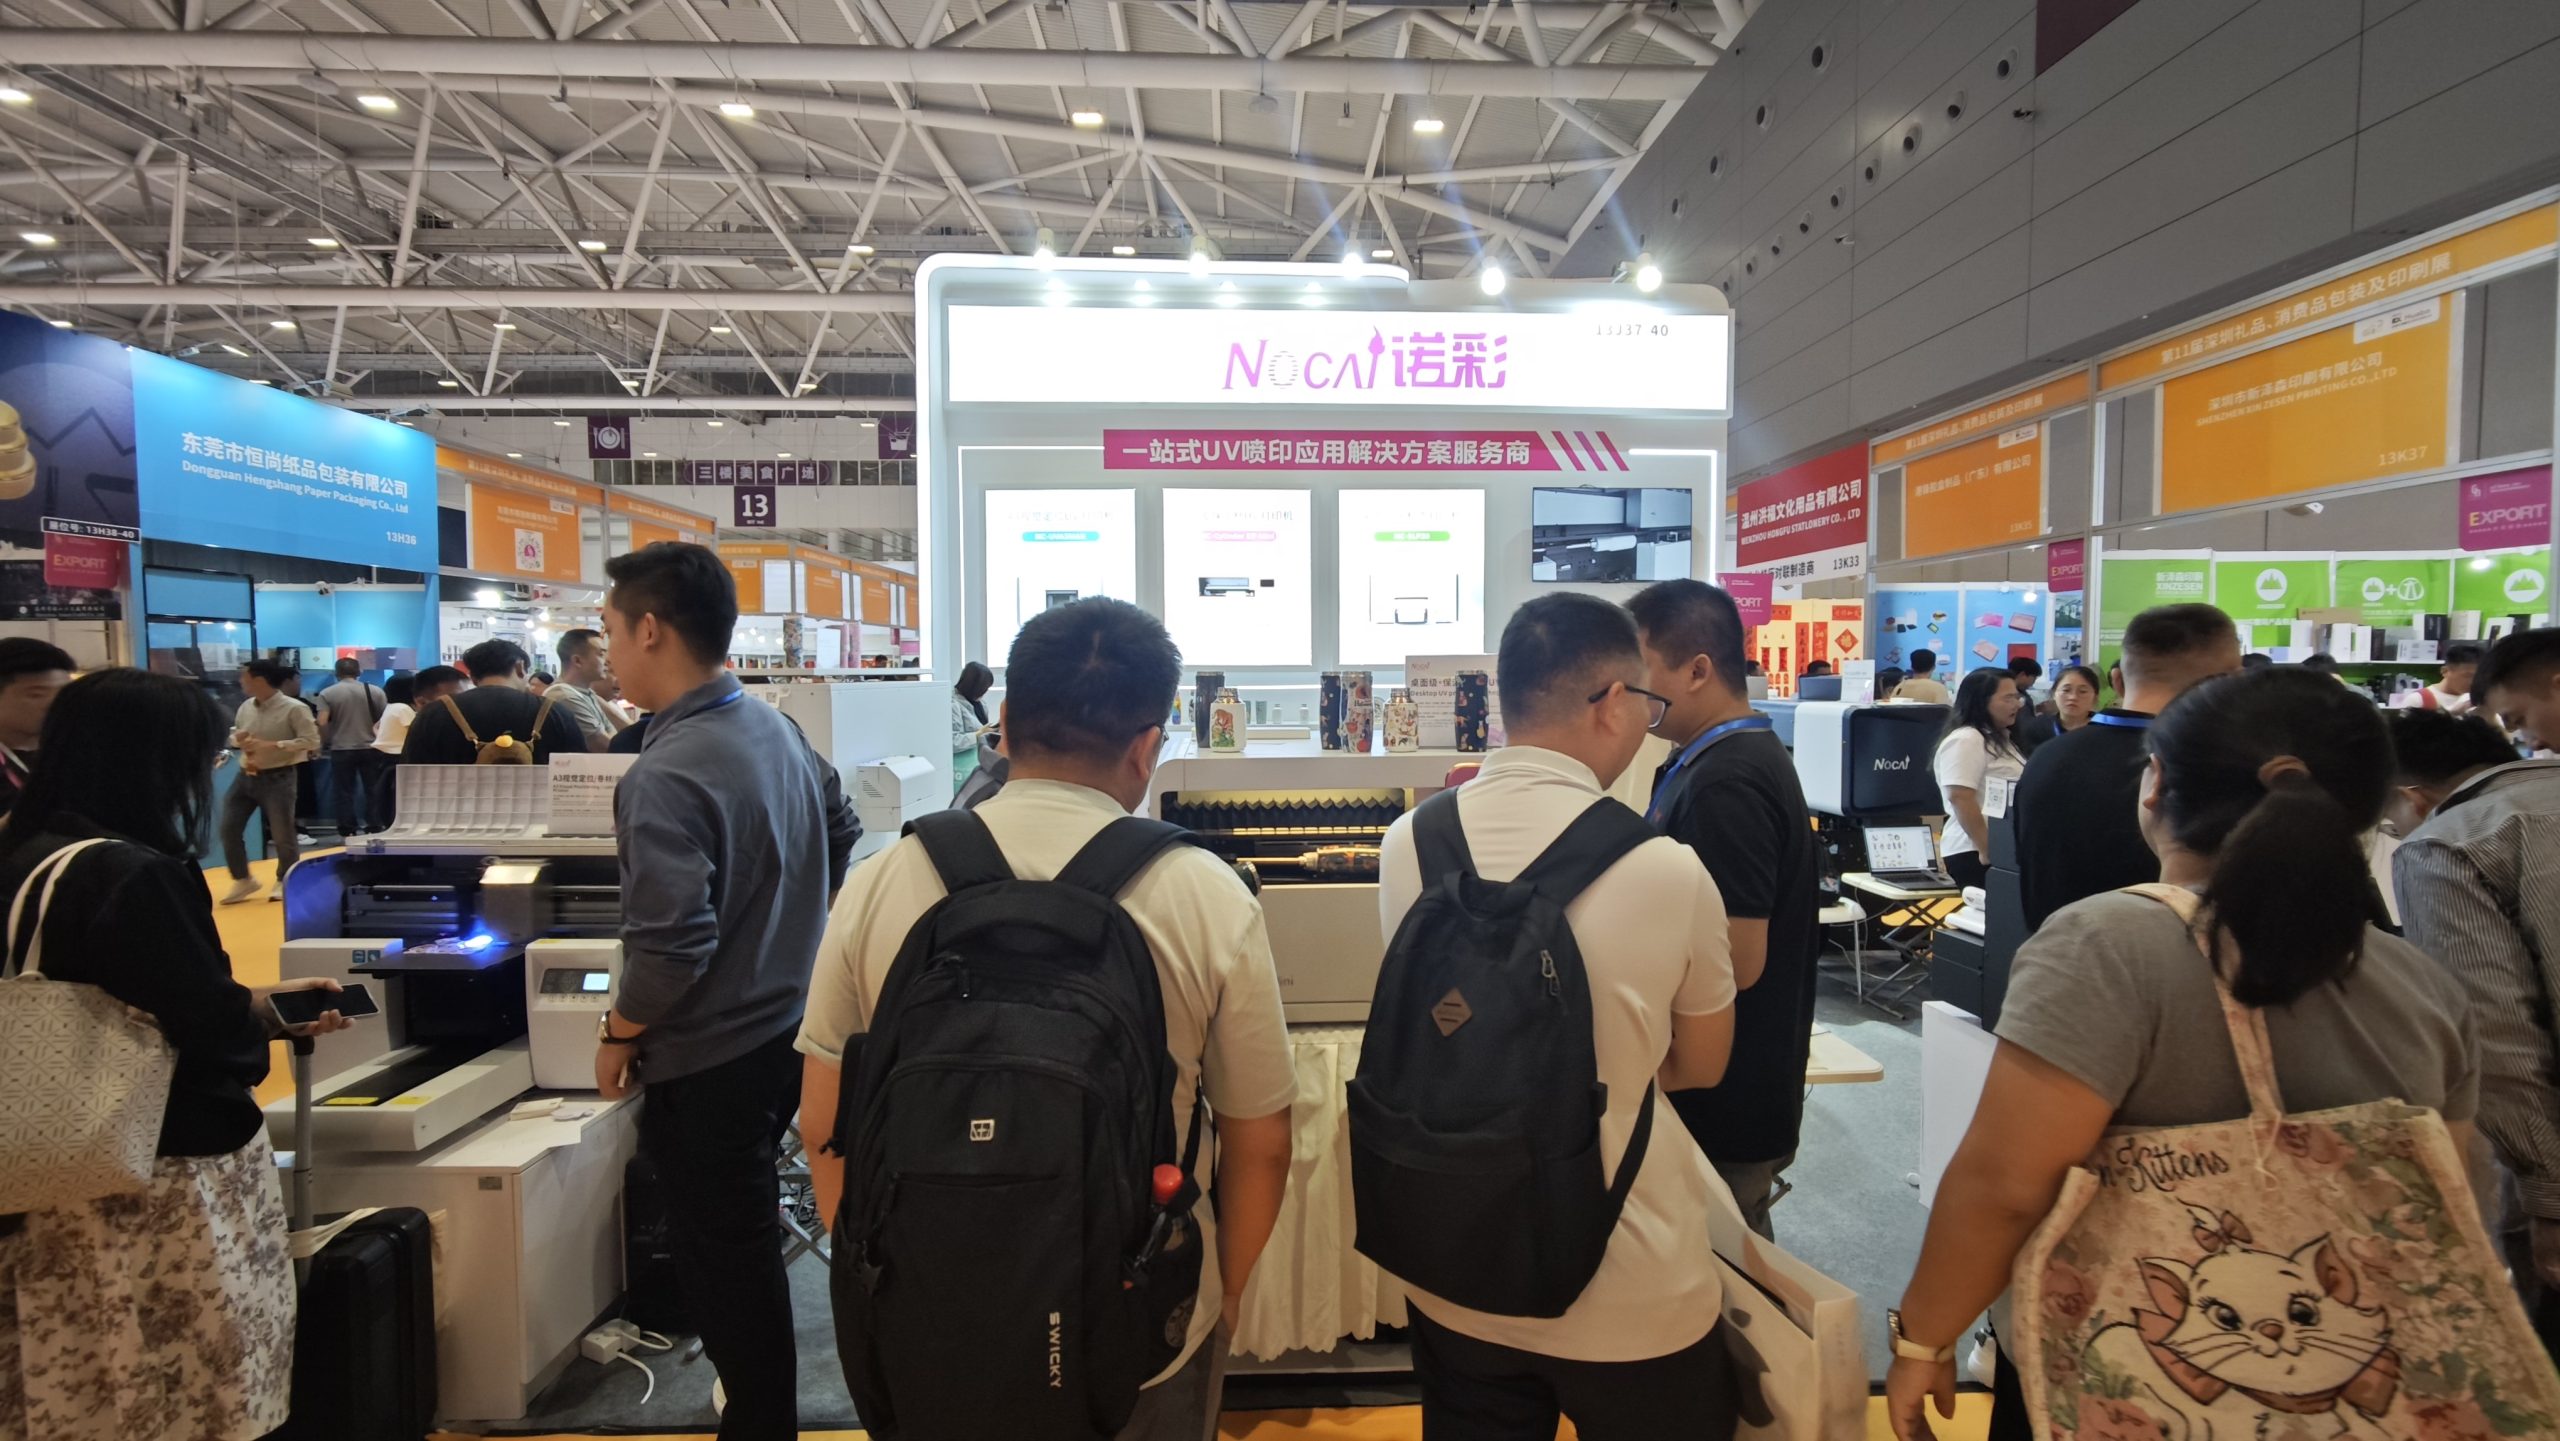
Shenzhen Gift Expo Day2 Focus: Nocai Bestsellers Set the Venue on Fire, Hidden Exhibition Area Exclusively Open
2025-10-21 -

Grand Opening! Live Coverage of the 33rd Shenzhen Gift Expo – Nocai Presents 5 Core Printing Devices at Booth 13J37-40
2025-10-20 -

27th Cross-Strait Longgang Print & Culture Expo Wraps Up! NOCAI Booth A-G7-2: 4 Core Devices + Pro Services Unlock New Industry Potential
2025-10-20 -
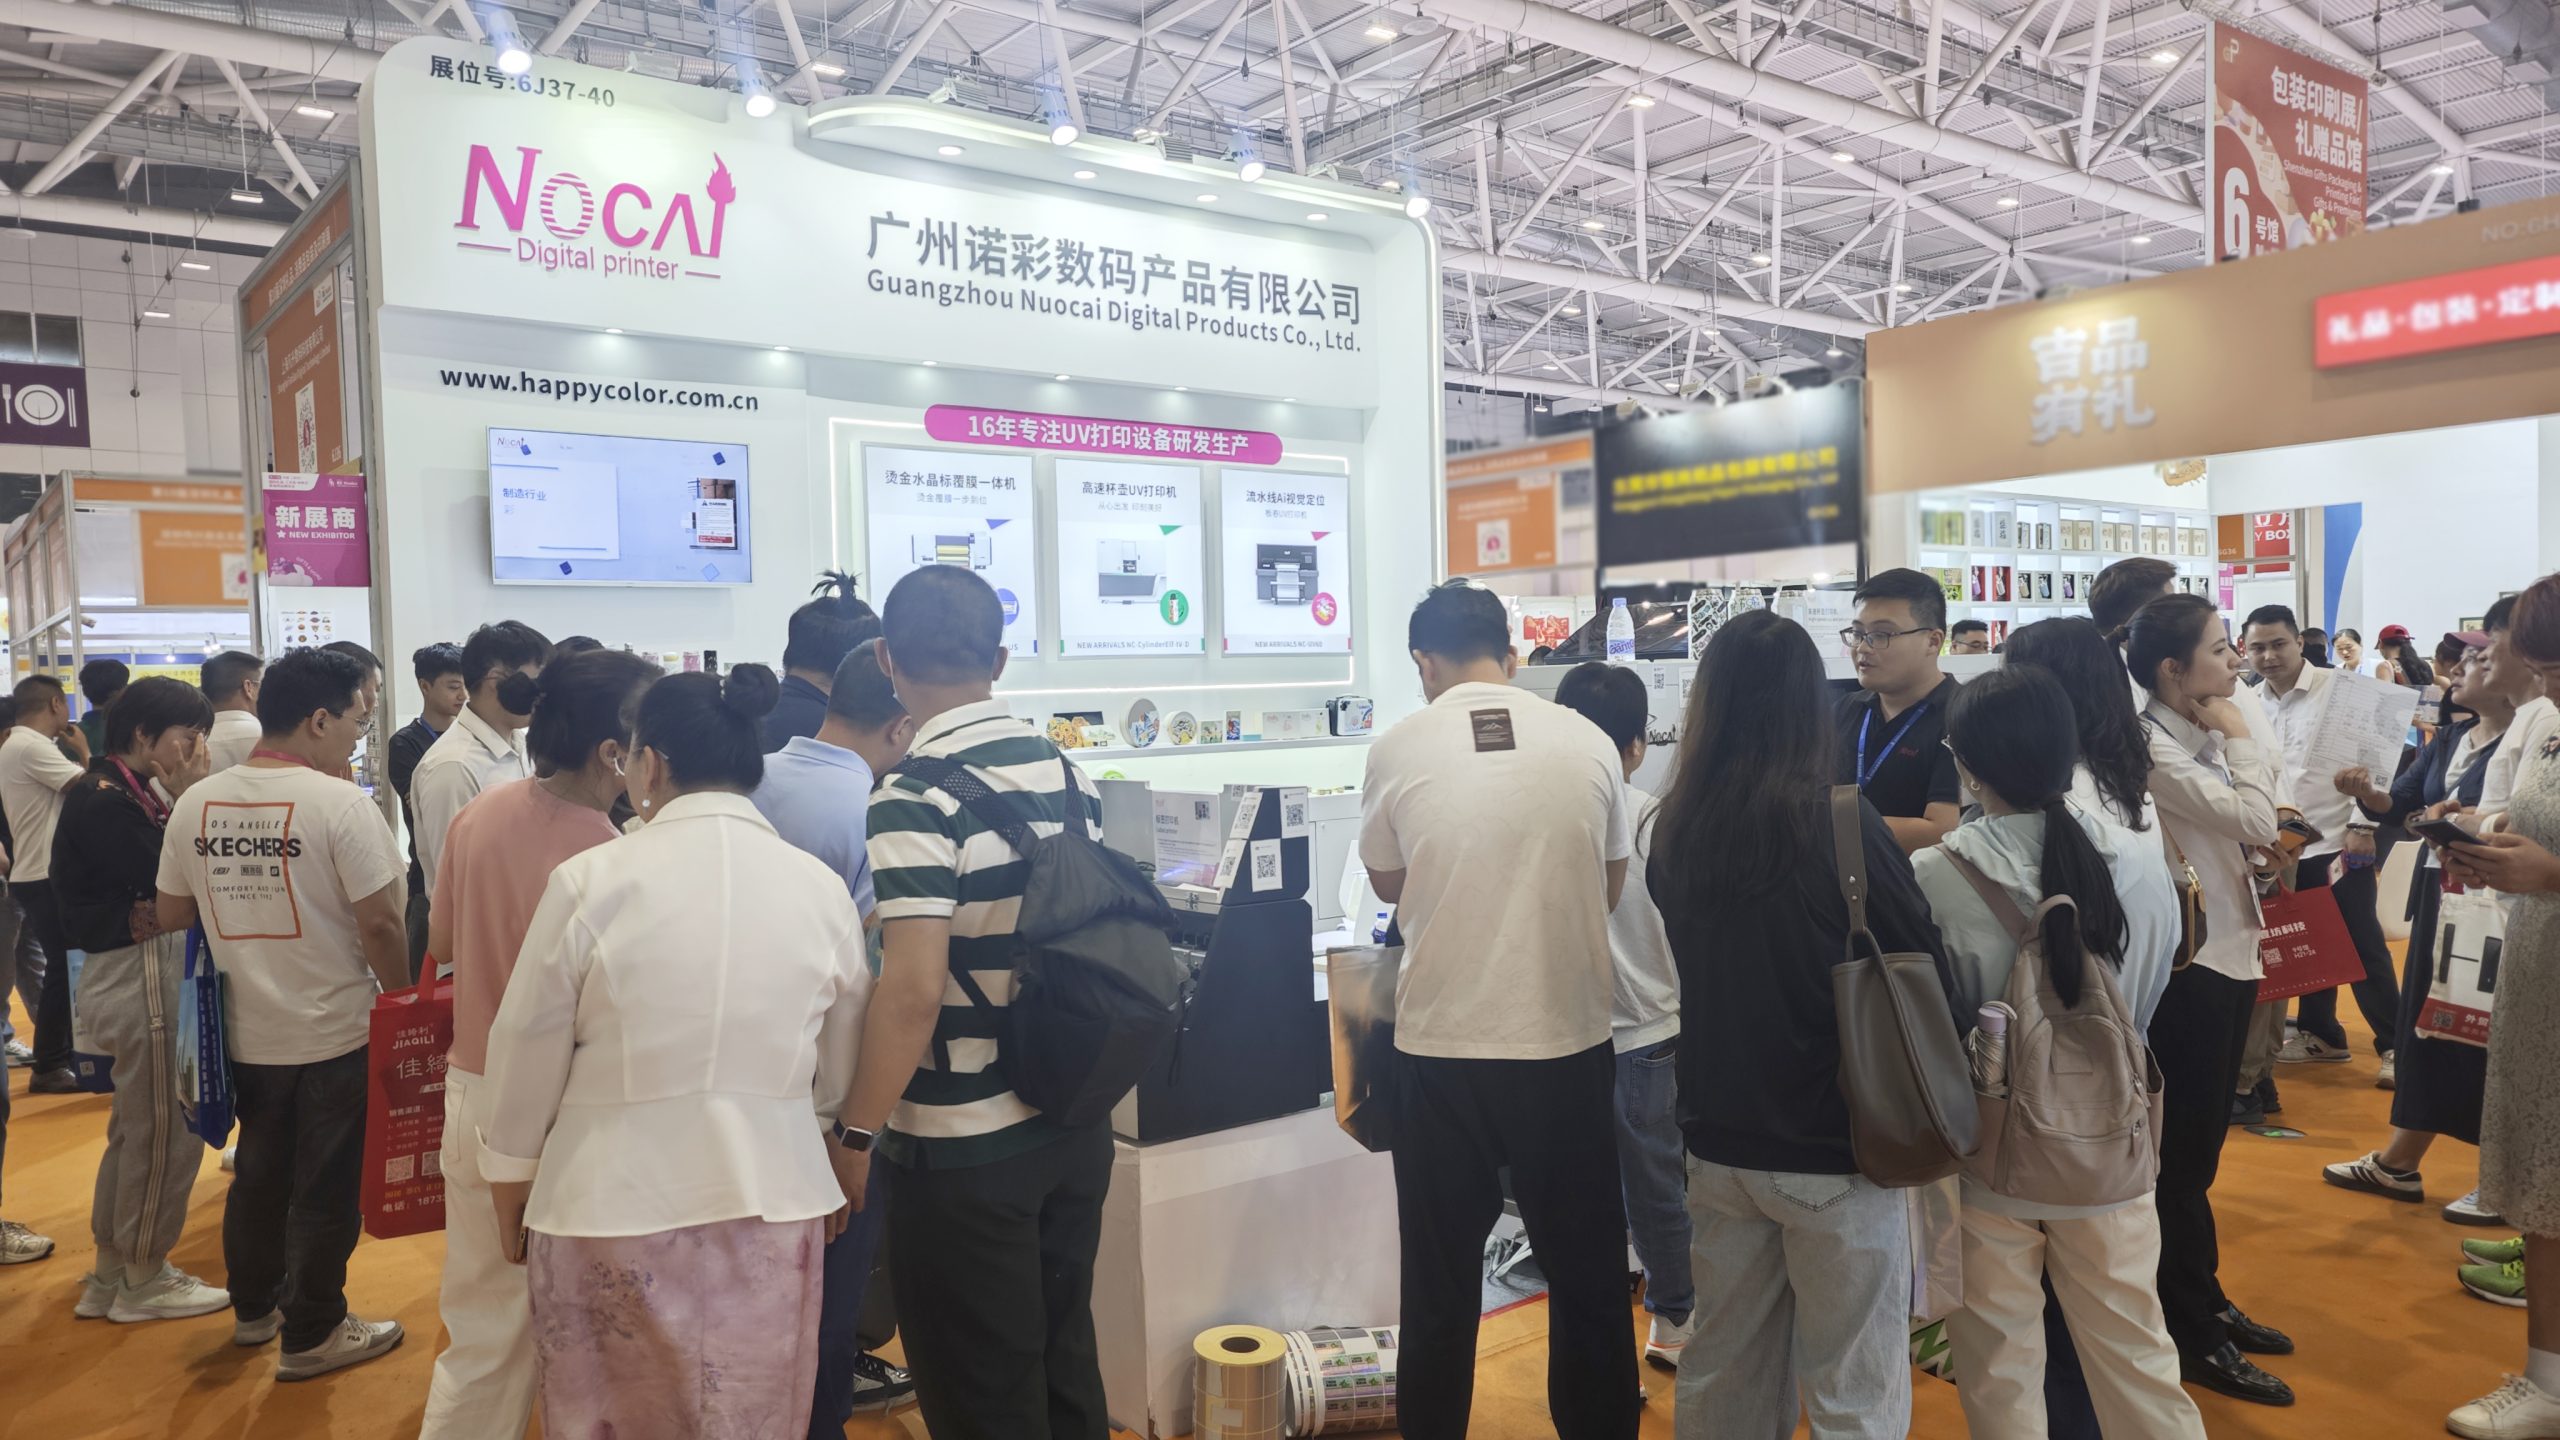
Shenzhen Gifts Fair Concludes Successfully, Nocai Embarks on a New Journey!
2025-08-15 -

Planting for the future- 3.12 Arbor Day, Voluntary action building a green home together!
2025-08-15 -
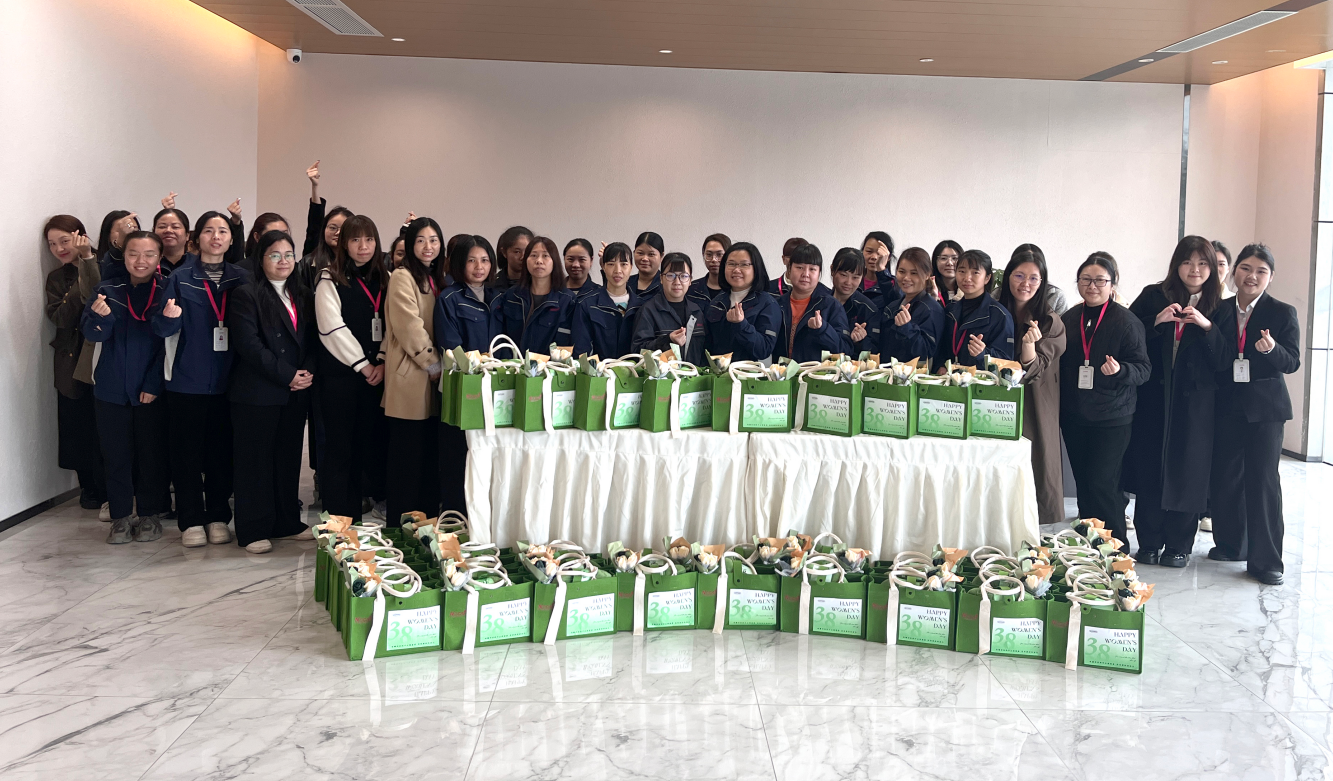
Women’s Day | “Saluting Your Brilliance, Honoring Trailblazing Women — Nocai Celebrates Every Woman with Festive Blessings & Heartwarming Gifts!”
2025-08-15 -
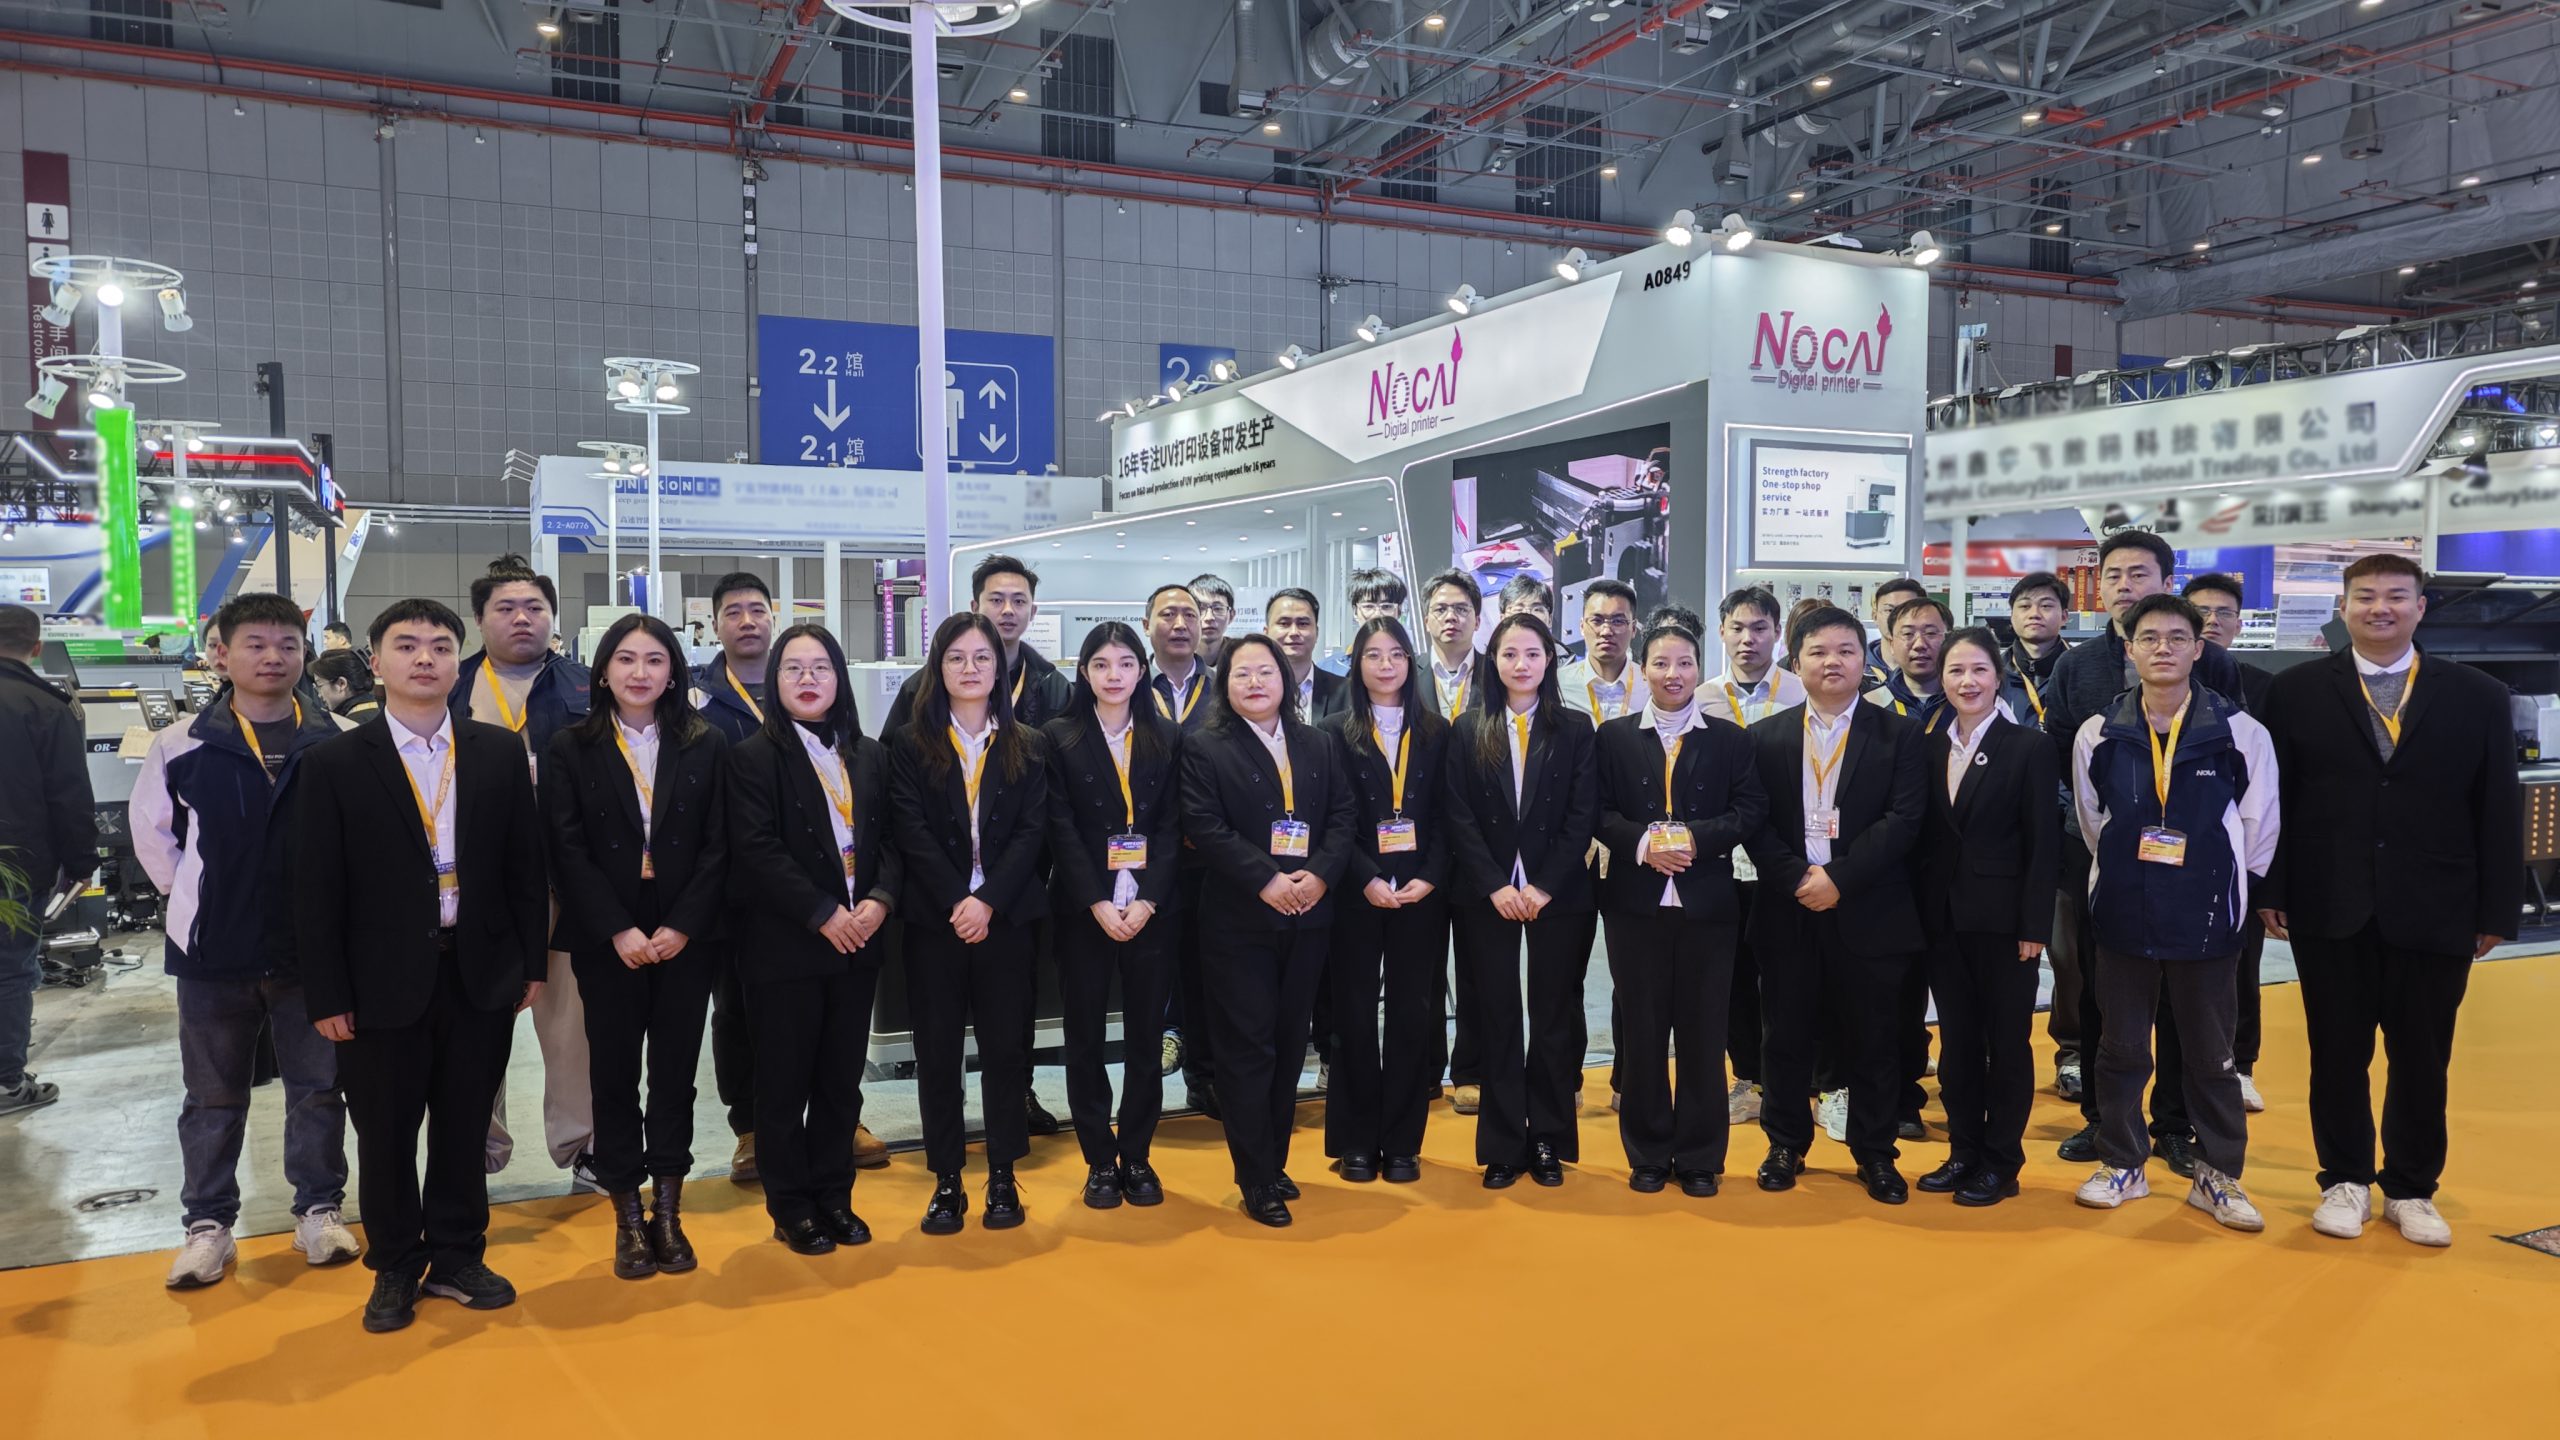
APPPEXPO Concludes Successfully Today! Nocai and Global Partners Co-“Print” Brilliance, Next Stop Will Be Even More Exciting!
2025-08-15 -
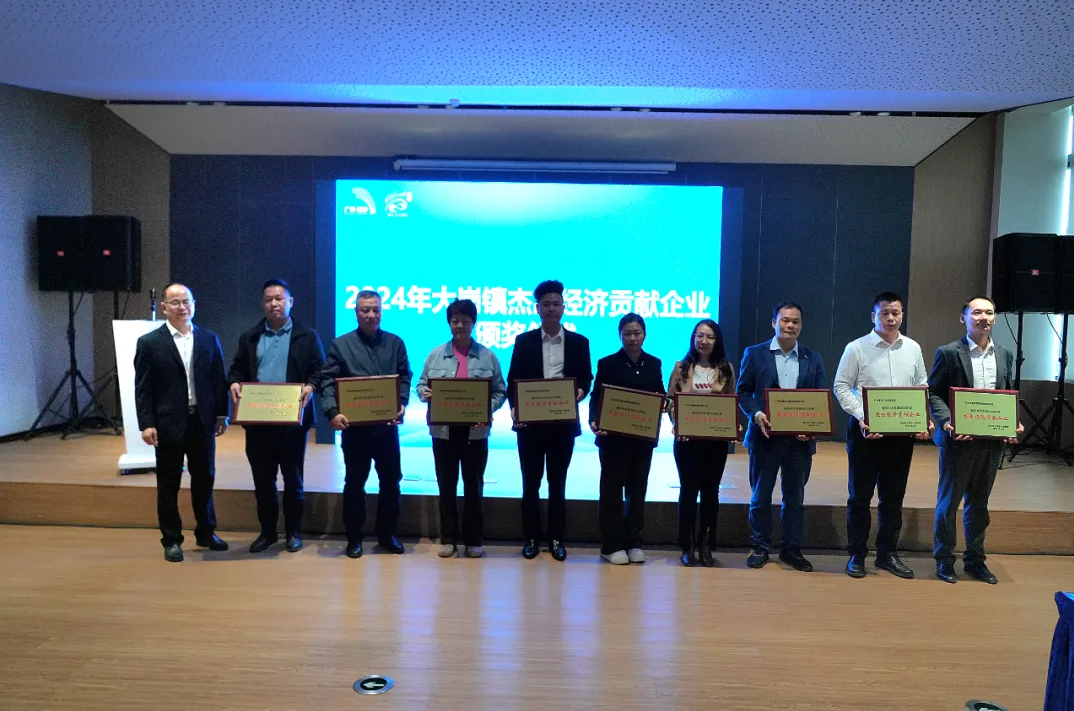
“Charting the Course in the Bay Area • Building Dreams in Dagang” — Guangzhou Nocai Invited to High-Quality Growth Forum in Dagang Town
2025-08-15
-

Stop Stockpiling! UV On-Demand Printing: The Optimal Solution to Inventory & Waste
2026-02-07 -

Breaking Flat Limitations: UV Printing’s Embossed White Ink, Adding Tactile Delights to Designs
2026-02-07 -
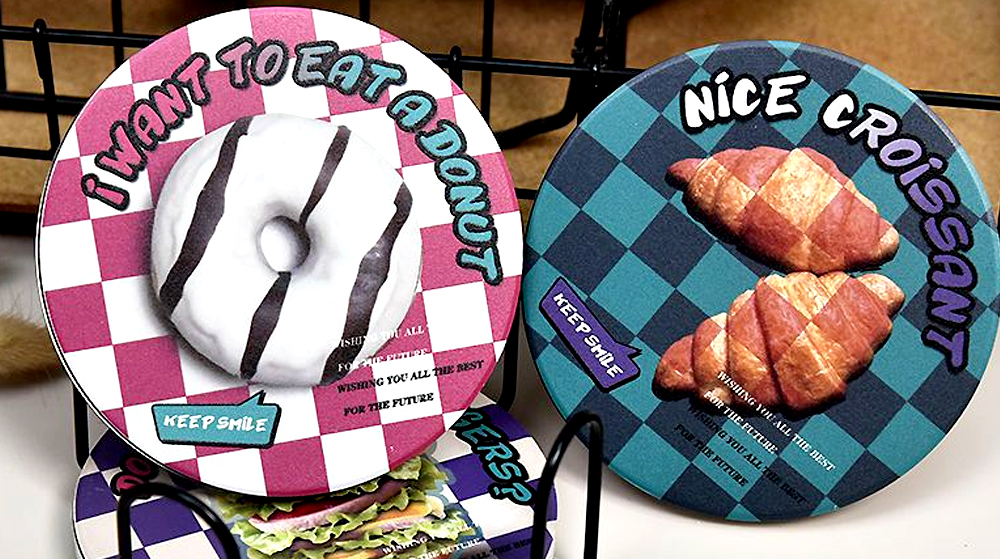
How Can a UV Flatbed Printer Transform Your Home Renovation?
2026-01-30 -

6090 UV Printer: The Core Driver Opening a New Era of Short-Run Printing
2026-01-30 -

Digital Tech Revolution: Large-Format Printers Blending Advertising & Art
2026-01-28 -
The Art of UV Printing Color Calibration: Where Technology Interprets the Elegance of Traditional Printing
2026-01-28 -
UV Flatbed Printing Technology Innovation: Diverse Applications in Advertising, Home Furnishings and Crafts
2026-01-16 -
Beyond Material Limits: Exploring the Versatile Applications of the 6090 UV Printer
2026-01-16 -
UV Flatbed Printers: Industrial Potential & Innovative Applications
2025-12-26 -
6090 UV Flatbed Printer: Media Compatibility Study & Detailed Compatible Materials List
2025-12-26
CONTACT US


Guangzhou Nuocai Digital Products Co., Ltd.
If you would like to keep touch with us directly, please go to contact us


